Eccentric Woodturning Necklace Centered Inserts
This video is best viewed right here. However, in case of difficulty, is it also posted on YouTube and FaceBook.
This is part of a series on eccentric turning in preparation for Valentine’s Day.
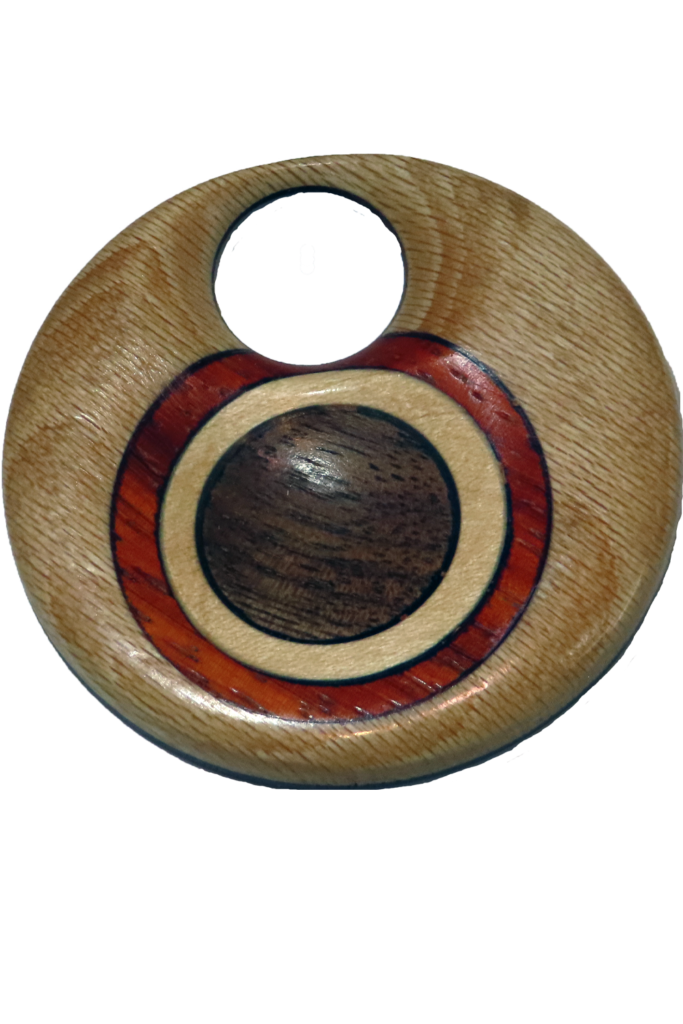
In this project video, I turn a medallion or pendant and insert different woods for visual interest. The position is fixed for this project so that each wood is concentric but different diameters
The main wood is sycamore with a walnut backing. The inserts are walnut, maple, and padauk.
The main accessory is a shop-made chuck based on “Build A Shopmade Chuck For Offset Turnings” by David Mueller. American Woodturner February 2015. I have adapted this chuck to have exchangeable work platforms that interchange with the Infinite Axis Chuck that I designed.
Turning went much easier with a couple more accessories:
- 2 screw chucks (3/8″) for direct mount of the work platform to the lathe spindle.
- Flat faced faceplate sized for target diameter also used to press double sided tape bonding.
- Live center with #2 Morse taper and 1 1/4 x 8 tpi.
- Spindle adapter 1″x8 tpi female to 1.25″x8tpi male top adapt the live center from 1″ to 1.25″
Enjoy!
Eccentric Woodturning Off Axis Medallions
This post is best viewed right here. However, in case of difficulty, it is also posted on YouTube and FaceBook.
This is part of a series on eccentric turning.
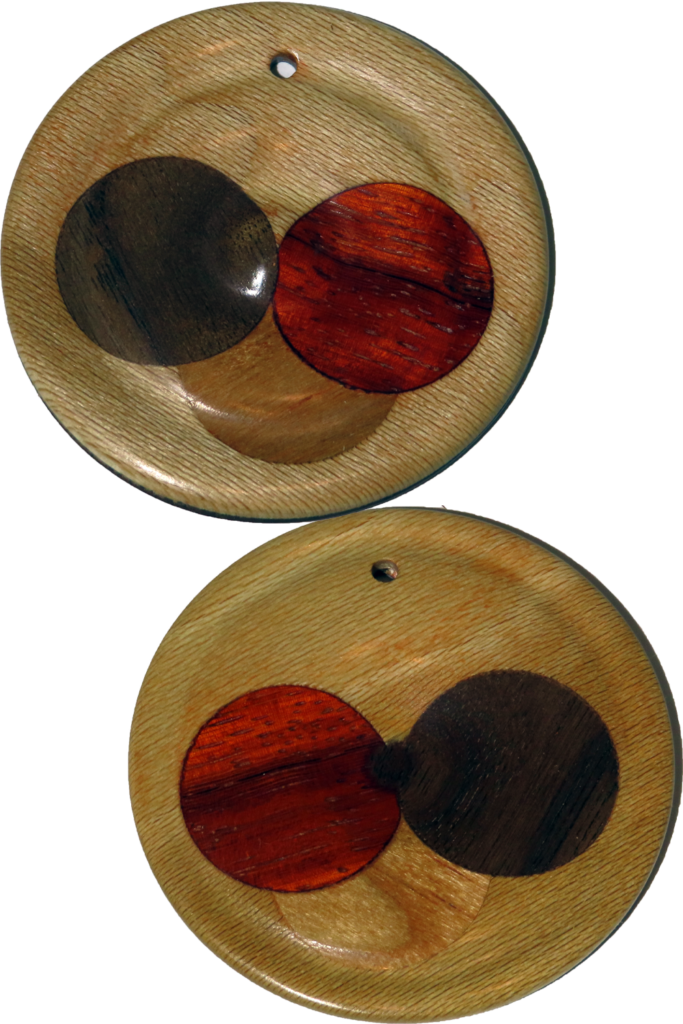
In this project video, I turn a medallion or pendant and insert different wood for visual interest.
The main wood is sycamore with a walnut backing. The inserts are walnut, cherry, and padauk.
The main disk controls how far the new axis is from the lathe spindle.
The inner disk controls an offset from the new axis for yet another axis.
The main accessory is a shop-made chuck based on “Build A Shopmade Chuck For Offset Turnings” by David Mueller. American Woodturner February 2015. I have adapted this chuck to have exchangeable work platforms that interchange with the Infinite Axis Chuck that I designed.
Turning went much easier with a couple more accessories:
- 2 screw chucks (3/8″) for direct mount of the work platform to the lathe spindle.
- Flat faced faceplate sized for target diameter also used to press double sided tape bonding.
- Live center with #2 Morse taper and 1 1/4 x 8 tpi.
- Spindle adapter 1″x8 tpi female to 1.25″x8tpi male top adapt the live center from 1″ to 1.25″
Enjoy!
Eccentric Woodturning Off Axis Necklace Pendant
This post is best viewed right here. But it is also posted on YouTube and FaceBook in case of difficulty.
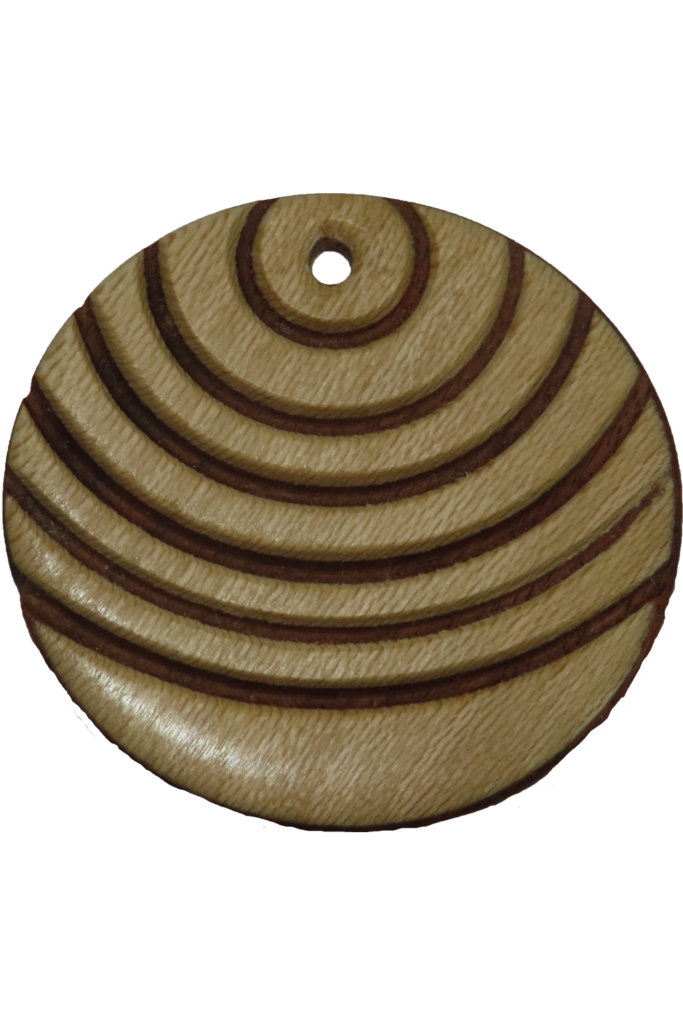
I have not turned a necklace pendant for a long time. Past time to update jigs and fixtures to make the task easier.
The main accessory is a shop-made chuck based on “Build A Shopmade Chuck For Offset Turnings” by David Mueller. American Woodturner February 2015. I have adapted this chuck to have exchangeable work platforms that interchange with the Infinite Axis Chuck that I designed.
Turning sent much easier with a couple more accessories:
- 2 screw chucks (3/8″) for direct mount of the work platform to the lathe spindle.
- Flat faced faceplate sized for target diameter also used to press double sided tape bonding.
Enjoy
Woodturning and 3D Printing – Can They Work Together?
This posting is best viewed right here on this page. In case of difficulty, it is also available on YouTube and FaceBook.
Based on questions that came from recent project, this post gives an overview of 3D printing from my perspective as a woodturner.
Even before I purchased a 3D printer, I designed some items that the Maker Space in the local library printed for me.
Since purchasing my printer, I have found many unexpected projects to design and build.
3D printing is considered a rapid prototyping technique. It is not instant but is much faster than milling parts while in the development stage. It does not replace injection molding. However, molds for commercial injection molding range around $100,000 each. That means matching molds for the bushings I used in recent projects could exceed $200,000 each size.
Needless to say, there is a learning curve required. For me, it is worth the effort.
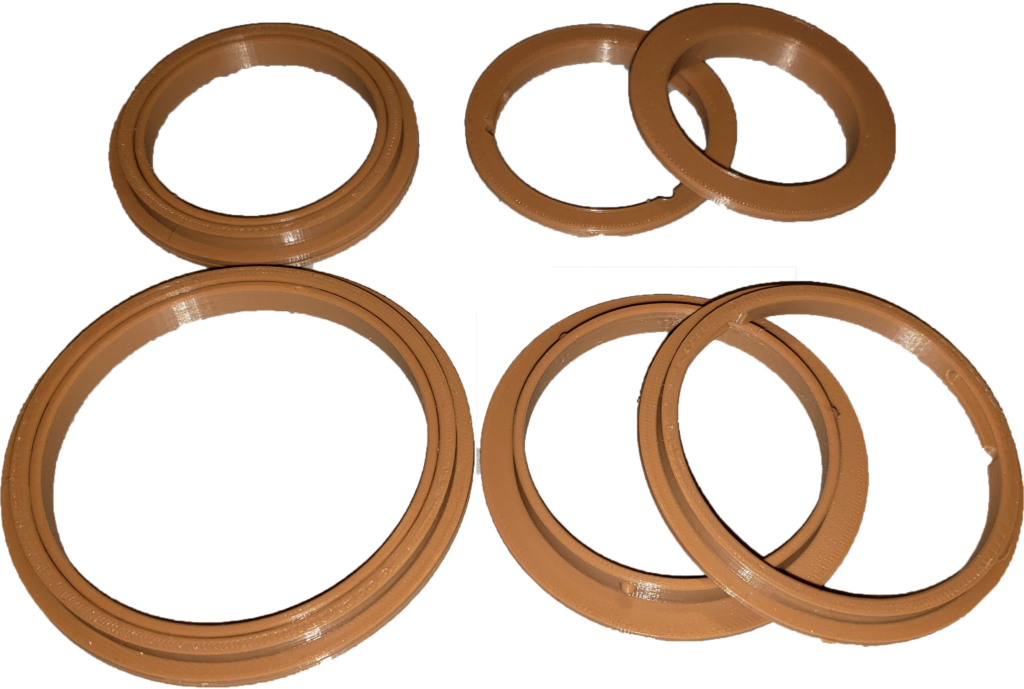
The bayonet bushing are in my Etsy store (link) in 3 colors and sizes from 1″ outer diameter by 1/4″ thru 3″ and then more larger sizes.
Enjoy!
Woodturning Spiral Box For Potpourri And Goodies
While this is best viewed right here, it is also posted on YouTube and FaceBook
This project is inspired by projects and questions from the 2021 Christmas Ornament Challenge. A spiral box project includes carving and layout.
This is the culmination of many years of planning towards this project. I remember Stuart Mortimer demonstrating this sort of project many years ago at the Utah Woodturning Symposium.
First turn a hollow form. Then lay out spirals and start carving.
A couple of notes:
- Long strips of canvas backed sandpaper are essential – starting with 80 grit.
- Gross carving used a Proxxon right-angle tool with two different cutters: a wheel cutter and a coarse rasp.
- Fine carving used an Icon rotary tool with a small but long rasp bit.
- The joint was made with a bayonet style bushing. This bushing was 3D printed and designed in OpenScad by myself. I am planning to make these available on my Etsy site within a few weeks.
Enjoy!
Woodturning Acorn Box With Bayonet Joint
This post is best viewed right here. However, in case of difficulty, it is also posted on YouTube and FaceBook.
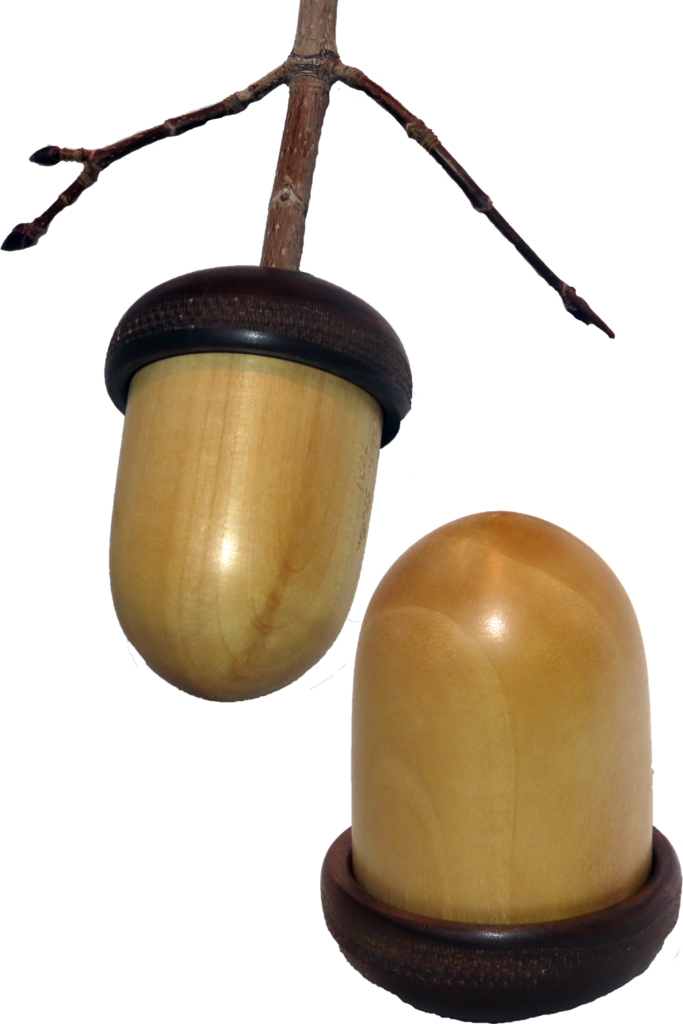
This is a fairly simple project but enhanced by using 3D printed bayonet bushings for the joint. Simpler would be to glue the two pieces of wood together.
The body is birch from a tree from my yard. The cap is walnut. They joint is wood infused PLA printed on my Prusa 3D printer. The finish is shellac.
Making the joint required Forstner bits and a little extra hollowing with a box scraper. A little bit of epoxy holds it in place.
Enjoy!
Woodturning Sleighbell Inspired By Ornament Challenge
This post is best viewed right here (above). In case of difficulty, this is also posted on YouTube and FaceBook.
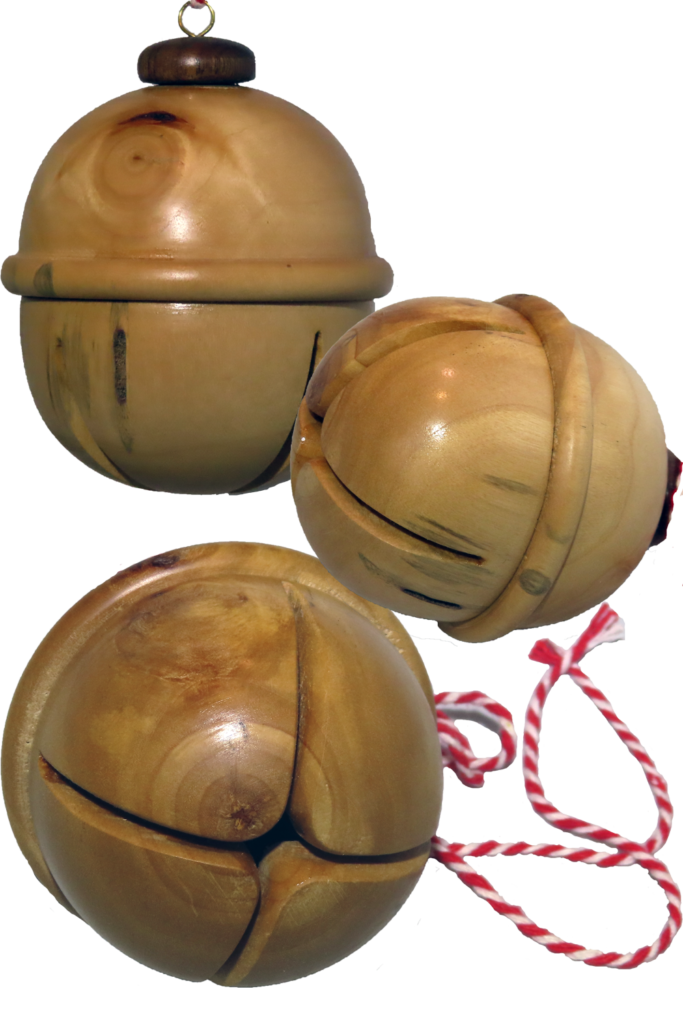
Taking inspiration from an ornament by Dennis in the 2021 Christmas Ornament Challenge, I tried to turn a similar ornament. I failed.
So, back to the computer to layout my plan and work out the details. Then off again to the lathe to turn it for real. The birch is from a dead tree in my front yard that I cut down a year ago.
I split it in half so I could hollow from both sides instead of through one small hole in the back.
I just had to remember to put a marble inside before gluing it all together.
Where does your inspiration come from?
Enjoy!
2021 Christmas Ornament Challenge – Winners & Wrapup
This post is best viewed immediately above this note. However, in case of difficulty, it is also posted on YouTube.
The votes are counted and the results are in from the 2021 Christmas Ornament Challenge.
With 207 ornaments, that is a lot. Thanks to everyone who contributed an ornament.
Top winners are:
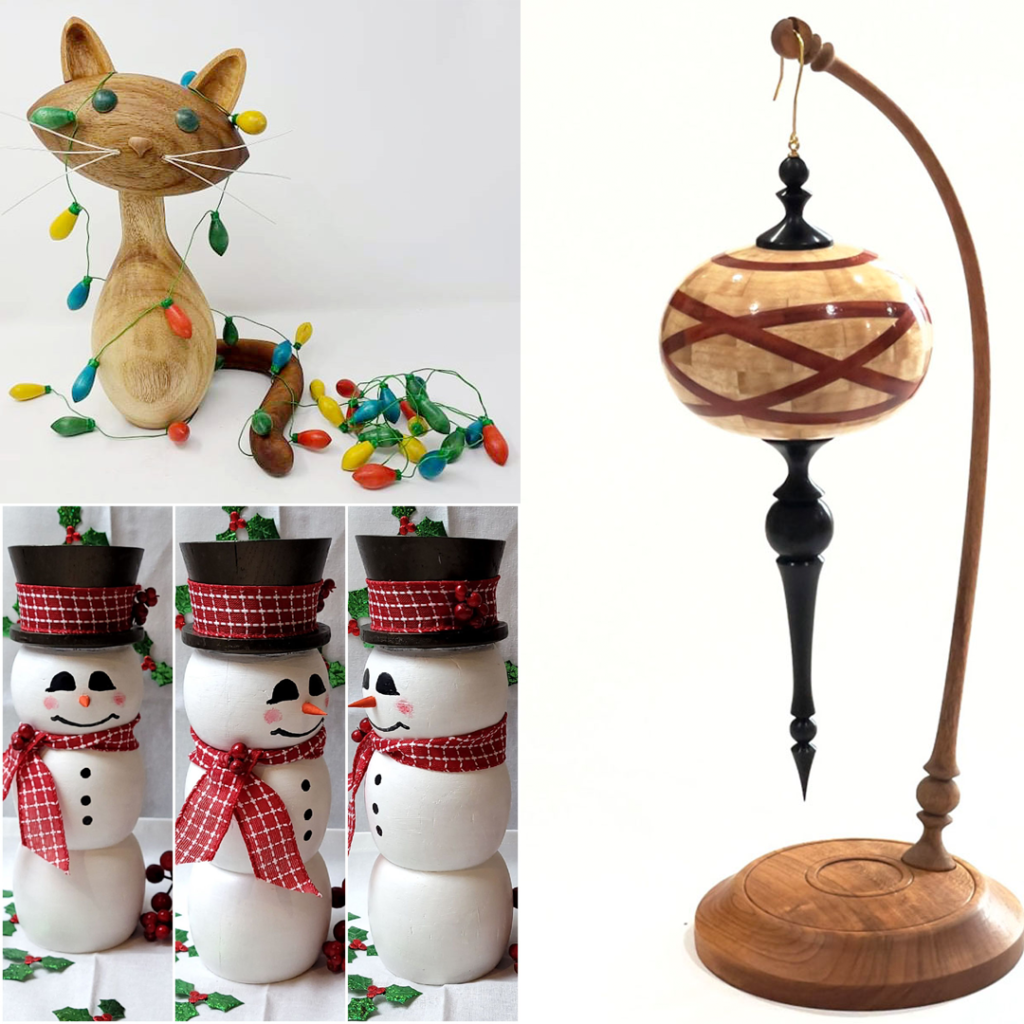
- #21 Christmas Cat-tastrophe by Jose Esteban Cruz
- #59 Celtic Ring Ornament by Franklin Young
- #90 Lantern Ornament by Jiunn-Kai Wang
- #141 Dodecahedron Play by Michael Lobe.
Club winners are:
Cape Cod Woodturners
Arizona Woodturners
Asociation Torneros de Madera – Puerto Rico
Special thanks to our sponsors:
- Craft Supplies USA for gift cards ($250, $150, & $100)
- Starbond for black CA glue with accelerator
- Woodworkers Emporium for discounts for all participants
- Woodturners Wonders for discounts for all participants
- Lumilite for discounts for all participants
- FrogBlanks for discounts for all participants
Thanks to everyone who submitted their ornament.
Thanks to all the clubs who spread the word.
Thanks to our sponsors for providing something for everyone.
If the video goes too fast, there are alternatives:
1). The pause and rewind buttons.
2). At www.OrnamentChallenge.com -This is web page with all ornaments to browse at your leisure.
Voting ended 12 December 2021.
Enjoy!
Woodturning Hedgehog Companion With Secret Compartment
This post is best viewed immediately above here. However, in case of difficulty, it is also posted in YouTube and FaceBook.
I am working on the final results for the Christmas Ornament Challenge. Voting is closed but all ornament can still be viewed at www.OrnamentChallenge.com
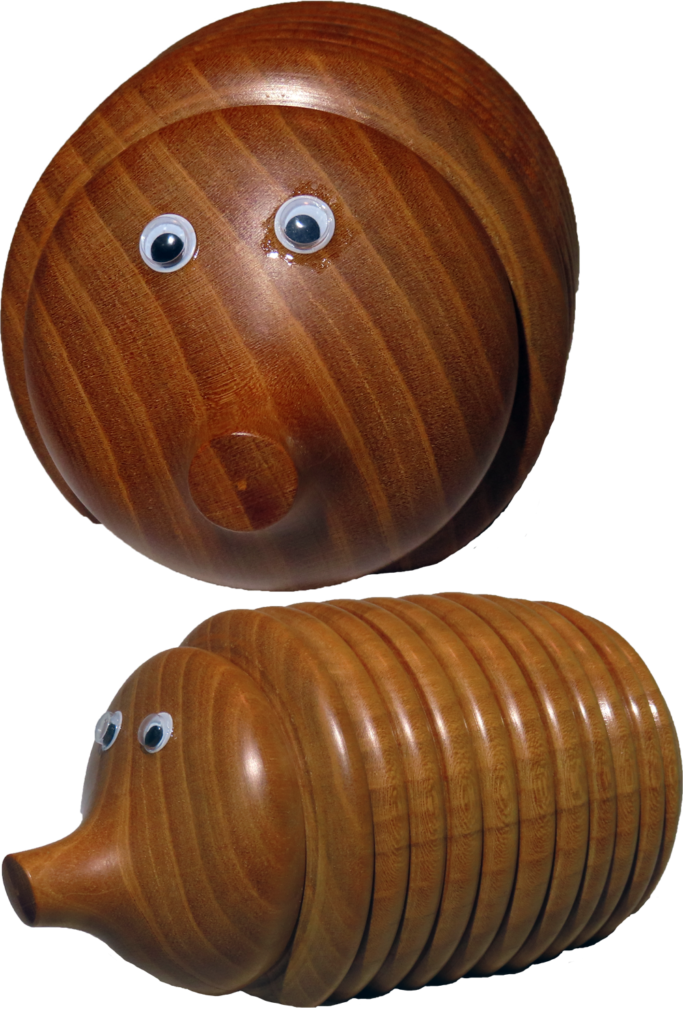
This project is a hedgehog. I like to take ideas from demonstrations at club meetings. This is one of these. But, I also like to do the project my way and, if possible, take it to a higher level.
So, this hedgehog is hollow instead of solid. That does lead to complications. But, they are worth it. After all, it is a box.
The major change on this one is the bayonet style bushing. I designed this bushing to print on my 3D printer with wood PLA. The bayonet engages at three points and a twist. This holds the top on without too much effort to remove it. Much less effort than threading for both myself and the person enjoying it.
Enjoy!
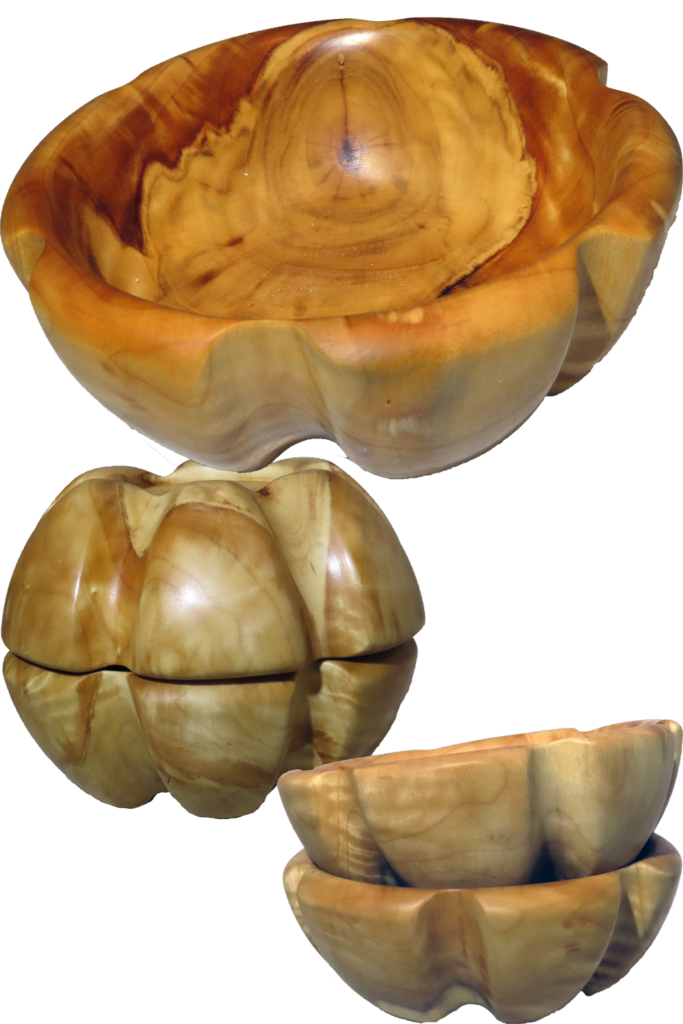
Woodturning Bonus – A 2Fer – Multi Axis Bowls
This post is best viewed right here (above here). In case of difficulty, it is also posted on YouTube and FaceBook.
Vote NOW for your favorite ornaments at www.OrnamentChallenge.com
This year I have been on a multi-axis spree from ornaments to displays and now to a pair of bowls.
How To?
- Mark divisions across the equator;
- Using cup chucks, turn coves at each division;
- Cut a mortise on each end – the former north and south poles.
- Cut the sphere into hemispheres.
- Hollow each side into a bowl, sand and finish.
These bowls are finished with walnut oiland buffed.
References:
Woodturning Perfect Spheres – For Wise Turners
Woodturn A Sputnik Sea Urchin Christmas Ornament
Woodturning Multi-Axis Christmas Ornament
Woodturning Multi Axis Pumpkin Box
Woodturning Christmas Ornament – Following The Chain Of Inspiration
Enjoy!
