Woodturning Drunken Segmented Vase
This post is best viewed right here on this page. In case of system difficulties, it is also posted on YouTube and FaceBook.
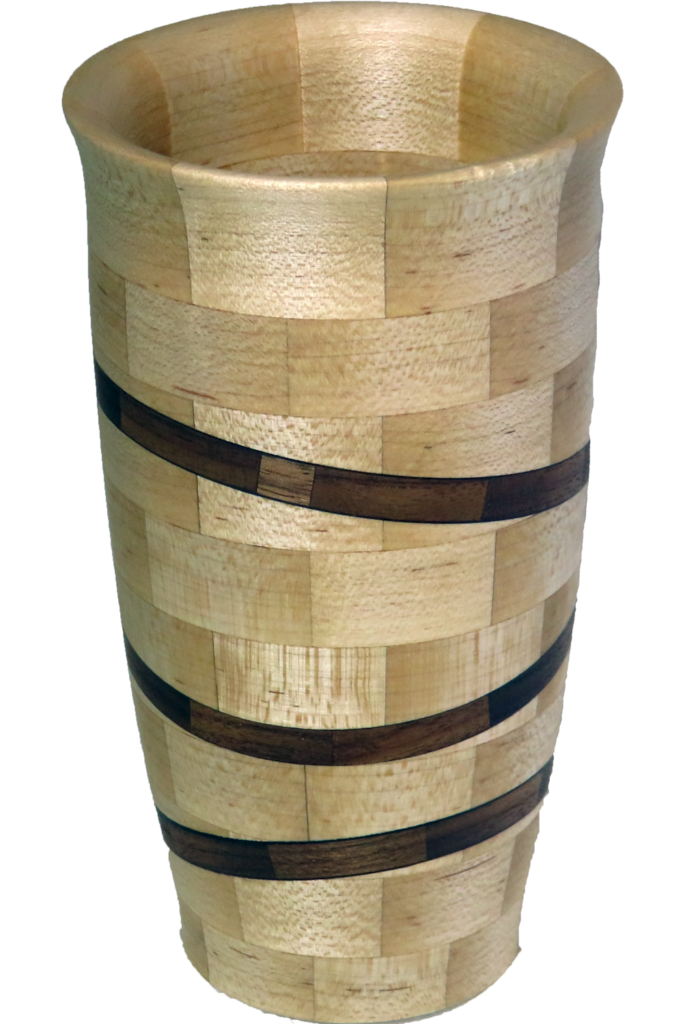
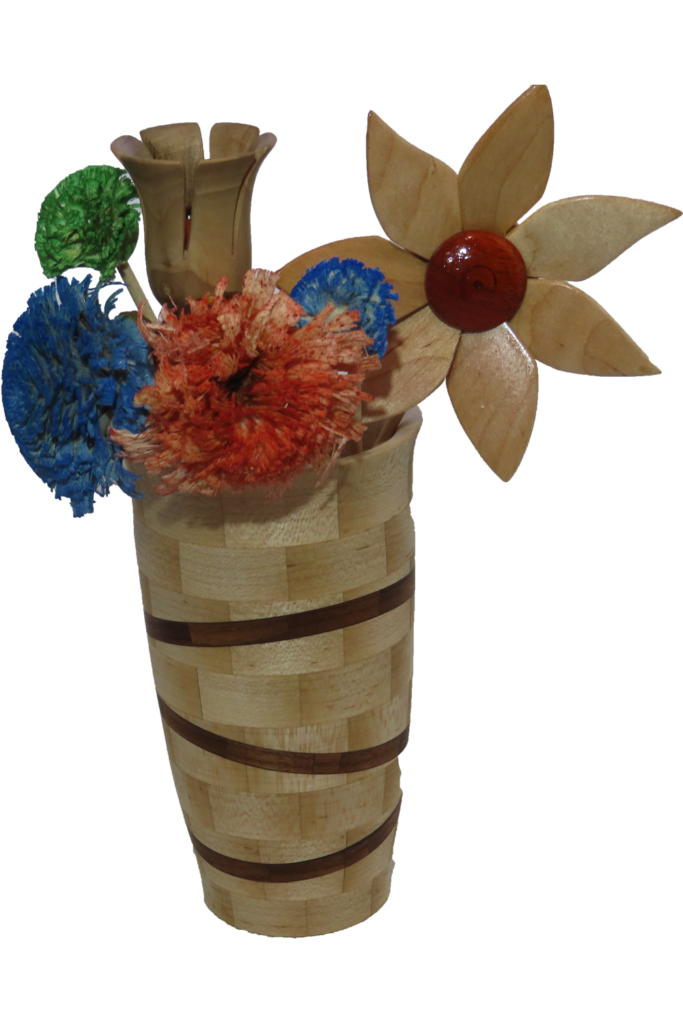
For this project, I am inspired by a weird segmented vase I turned several years ago. In that case, I sawed completed segmented rings at an angle. Then glued the rings into a vase. A great idea except that gluing sloping rings together was an exercise in frustration as they slid around on each other. Needless to say, I was not anxious to repeat that experience.
However, for this project, I borrow from the remote demonstration course I teach clubs for perfect Celtic knots. No. This is not a Celtic knot but it uses many of the same processes.
I built the vase ring by ring. However, not all at once. As I had enough height, I cut in a walnut ring. Then after adding more maple rings, cut in another walnut ring. Then again.
By building the vase gradually, I was able to turn the inside while each portion was still shallow (to the tool rest).
Also, the base is segmented and reinforced with a fiberglass layer.
The vase has 9 rings of maple and 3 rings of walnut. Each ring has 8 segments. This totals 96 segments, not counting those sliced in two portions with walnut passing between.
The vase is finished with walnut oil. It is a little over 3 inches diameter and 6 inches tall.
For more details on creating segmented rings, please see Simpler, Easier, Self-Correcting Process To Create Segment Rings last week.
Enjoy!
Simpler, Easier, Self-Correcting Process To Create Segment Rings
This video is best viewed on this page. But, in case of difficulty, it is also posted on YouTube and FaceBook.
In this video, I show my current process to create segmented rings. I used to glue rings all at onece or as half rings using band clamps. However, I have now adopted a gluing technique I learned from a pattern maker in Oregon. In this simple technique, segments have glue spread on one surface. Then, rubbing two segments together spreads the glue, squeezes out the excess glue, and starts to grab or set. The segments are then set aside while other pairs are glued together. Usually, pairs can then be glued together into half rings as soon as the last pair is rubbed together. I usually give the half rings at least 20-30 minutes (depending on temperature) before sanding the mating surface and again using the rub technique to glue the two halves together.
For me, using this technique means:
- no cutting wood crumbs to disrupt a all at once ring glue;
- no need to precisely mill wood before cutting segments;
- no risk from dust in my sled;
- no risk from slight slips in segment length.
- no risk from many more sources.
This process is self correcting.
Other required gear:
My updated segment sled is 12″x16″ and uses 2 universal t-tracks for more versatility in alternate uses.
Saw throat insert with a slant board to enable cut segments to fall away from the saw blade when cut.
Segment Length stop.
Digital angle protractor(!) or various fixed angle templates.
Link to 3D printable angle templates.
https://www.printables.com/model/227714-wedgie-angle-templates-for-segmented-woodturning
Parchment paper or waxed paper is a great gluing surface.
Enjoy!
Cherry Surprise – Woodturning Reject Wood
This video is best viewed here on this page. In case of difficulty, it is also posted on YouTube and FaceBook.
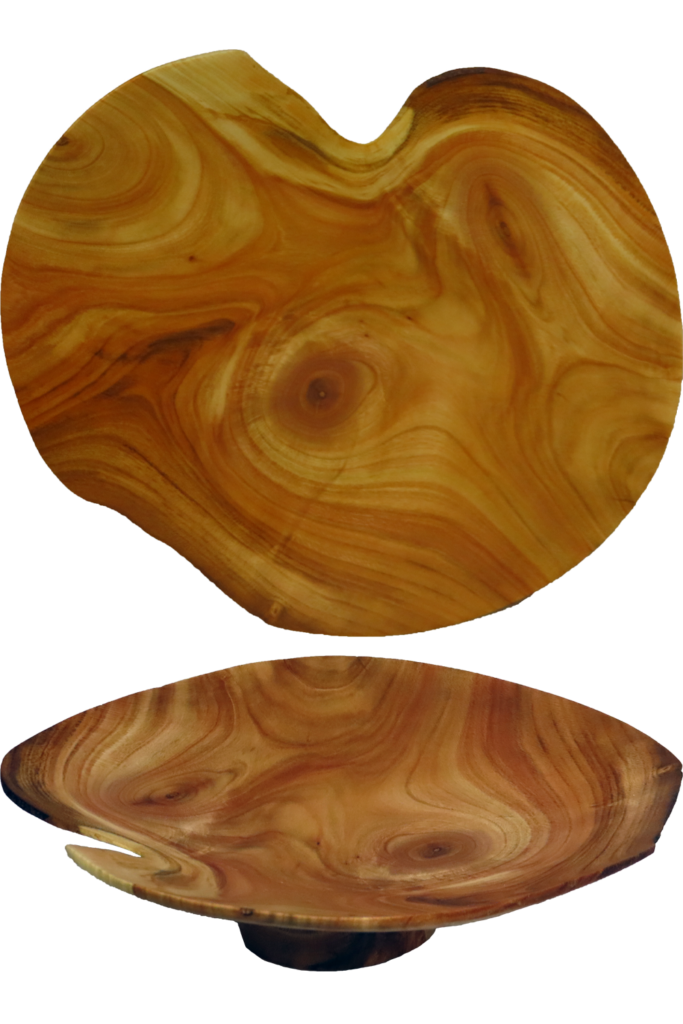
In this video, I turn a near reject half log of cherry. The problem was that this wood was urban cherry with large branches all over. In this case, there were two old branches protruding in bad directions. This generally results in bad cracks.
So, I turned it to finished thickness all at once. there would not be a period to dry and then remount.
The wood is a crooked apple branch. Turning the branch is a wild ride since the wood is so off balance. Turning is slow and steady.
Bowl is 8″ diameter and 2″ tall finished with walnut oil. The bowl wall is 1/8″ thick.
A lot of fun.
Crooked Branch – A Wild Ride Woodturning
This video is best viewed here on this page. In case of difficulty, it is also posted on YouTube and FaceBook.
In this video, I turn a project following the example of a fellow club member, Paul Russell. Paul will be presenting at the AAW symposium in Chattanoogo.
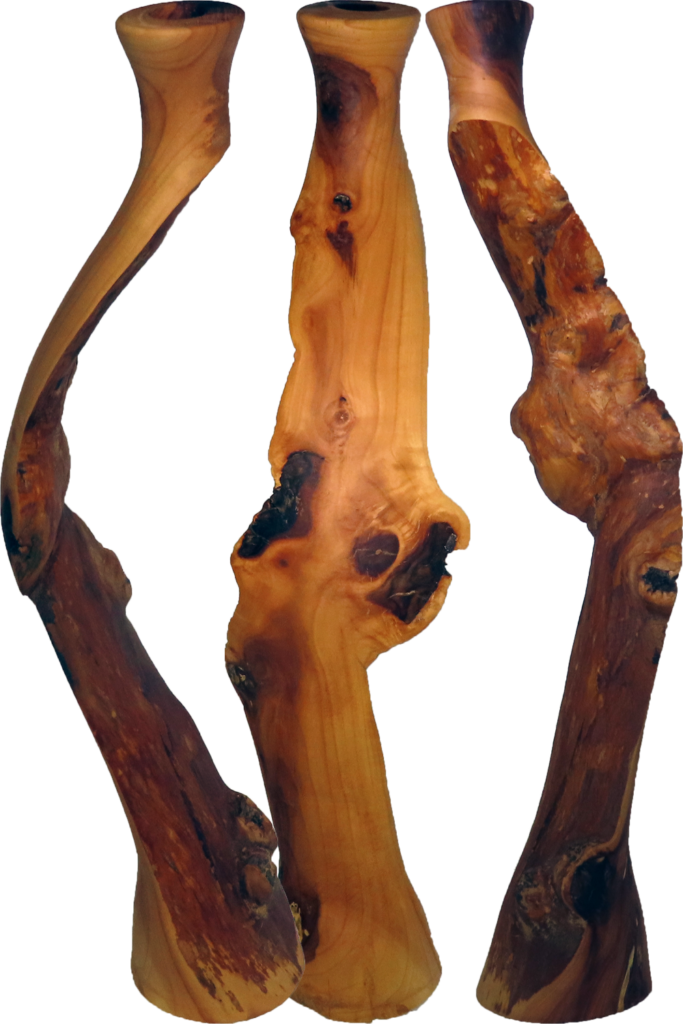
The wood is a crooked apple branch. Turning the branch is a wild ride since the wood is so off balance. Turning is slow and steady.
The finished vase?? is 16 inches tall, finished with walnut oil. It is kind of a natural edge – on seroids.
It was wild fun.
Enjoy!
More Fun With Goblets – WoodTurn Segmented Goblet
This video is best viewed right here on this page. However, in case of difficulty it is also posted on YouTube and FaceBook.
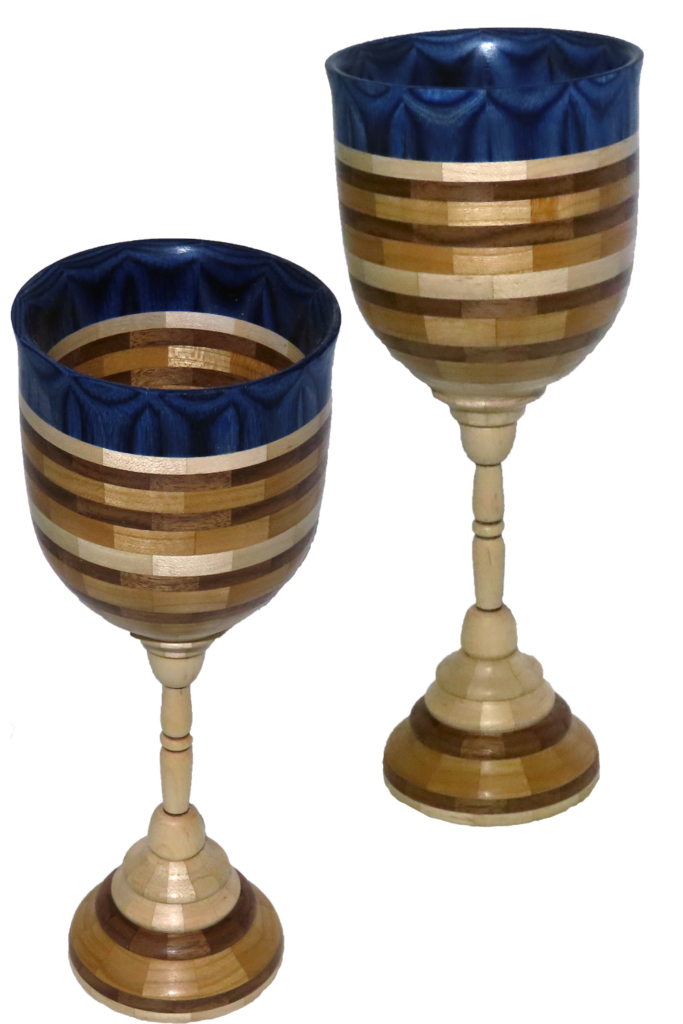
In this video, I discard the process recently used on other wood goblets for a segmented goblet. Since I can build and turn a segmented goblet in sections, I did not have a long skinny spindle. Therefore, I did not need my steady rest. Instead, I could build a base and a bowl and then connect them with a stem turned separately.
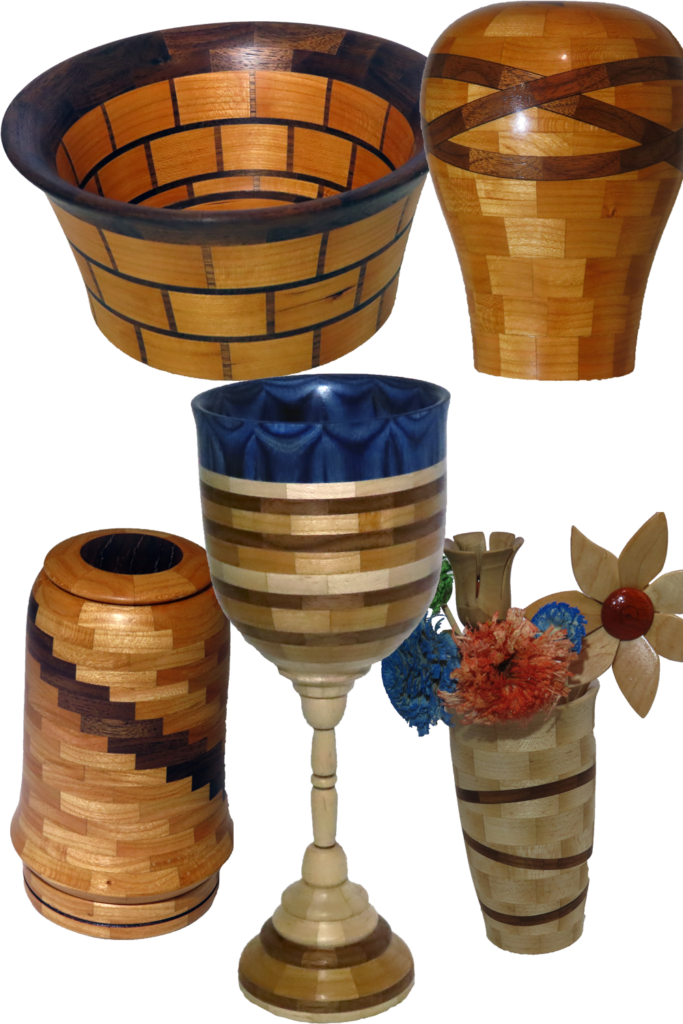
My goblet has 19 rings with 12 segments per ring totaling 228 segments of walnut, cherry, and maple. The rim is made from colored FrogWood(birch) turned on its side before gluing into a ring. Finish is shellac.
It was fun.
Enjoy!
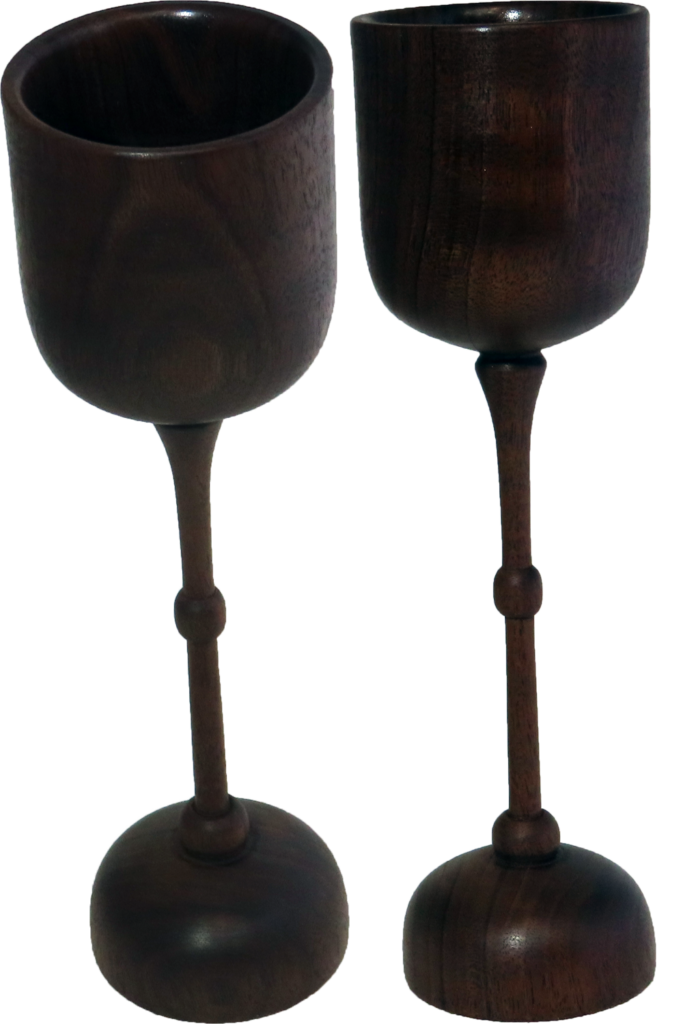
Refined – Process To Woodturn Dry Wood Goblet
This post is best viewed on this page. However, in case of technical issues, it is also posted on YouTube and FaceBook.
In this video, I refine the process recently used on green wood goblets and a dry wood goblet. In the dry goblet, I had intended to follow the new process exactly but spaced a bit. This added an extra step in the process. In this video, I follow the new process as intended.
To review:
What is different? Usually, the turning order is: Bowl, stem, foot. However, with the recent experience, My new process is to change the order to: Foot, Bowl, Stem. My steady rest is required when turning long spindles.
Here are links to videos describing my steady rest.
- My DIY Lathe Steady Rest
- Update To My DIY Lathe Steady Rest
- Woodturning – My DIY Steady Rest Is Still Steady
Enjoy!
New Process To Woodturn Dry Wood Goblet
This post is best viewed on this page. However, in case of difficulty, it is also posted on YouTube and FaceBook.
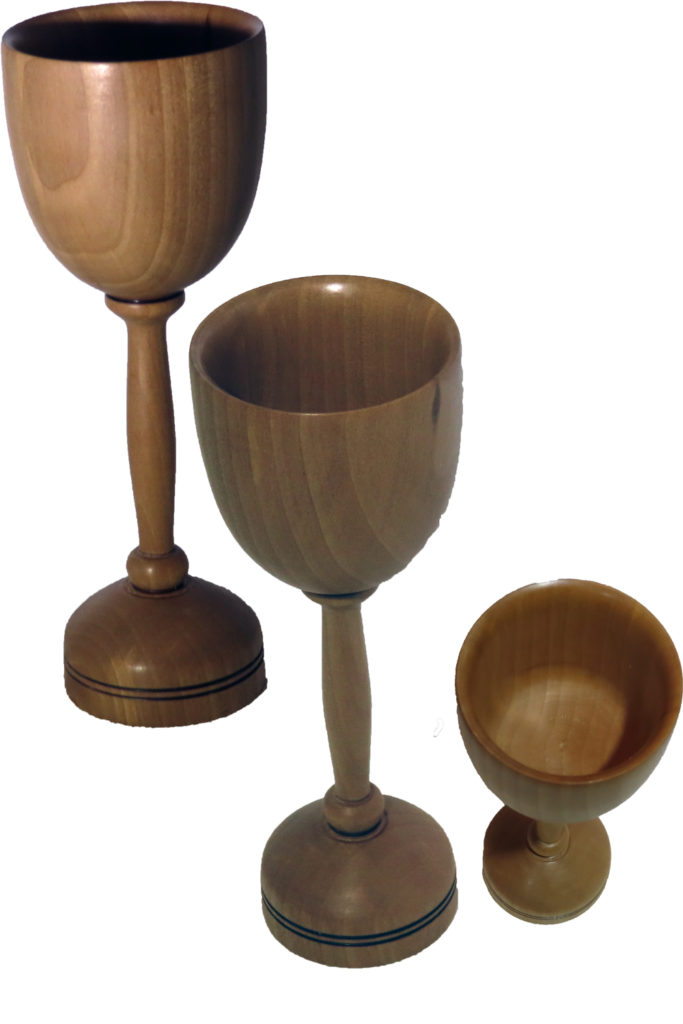
In this video, I transfer the process used on recent green wood goblet to a dry wood goblet.
What is different? Usually, the turning order is: Bowl, stem, foot. However, with the recent experience, I want to change the order to: Foot, Bowl, Stem.
Unfortunately, I got into a rut and hollowed the bowl first. Then I adapted by cutting a tenon on the bowl portion in order to turn the foot. Then, I could resume the new sequence and finish the foot, then remainder of the bowl, then stem. Had I kept my wits about me, it would have been simpler. I will go at it again.
Here are links to videos describing my steady rest.
My DIY Lathe Steady Rest
Update To My DIY Lathe Steady Rest
Woodturning – My DIY Steady Rest Is Still Steady
Make one for yourself.
Enjoy!
Woodturning Tiny Goblet – Will It Warp Well?
This video is best viewed right here. In case of difficulty, it is also posted on YouTube and FaceBook.
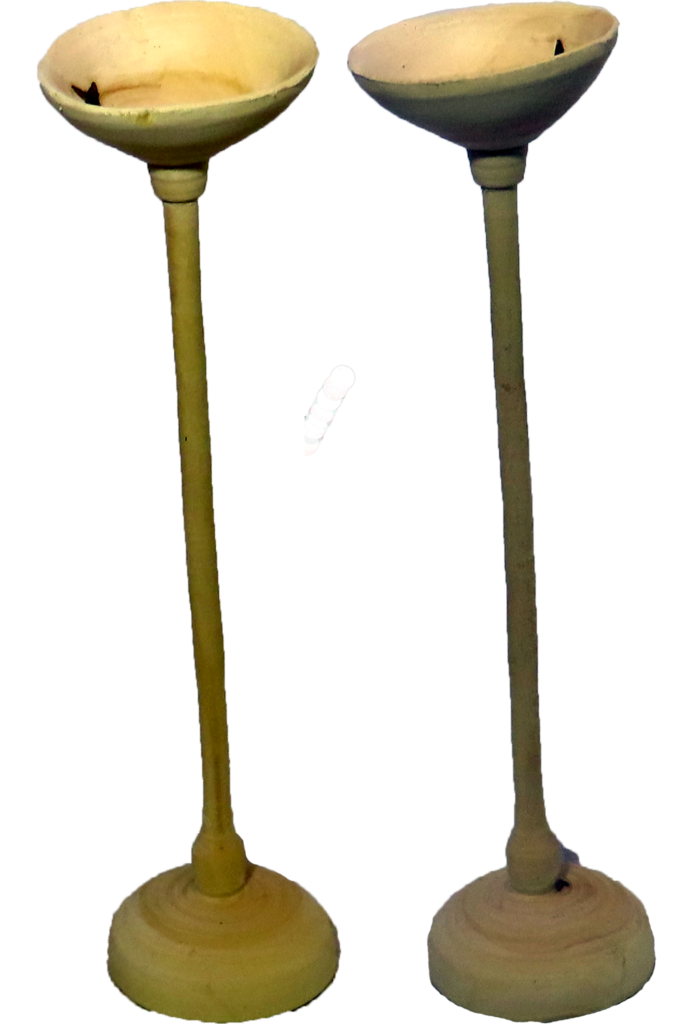
In this video, I experiment with letting green wood warp in the form of a small goblet.
I have fresh green apple wood from spring pruning. I decided to experiment with warping.
However, I did not want to have to carve the base. Therefore, I am also experimenting with turning the base first before the bowl portion. This is reverse of the typical order.
I did turn a tenon first. However, once mounted to the chuck, I turned what will become the foot. The foot also doubles as a mortise for an expansion mount.
In the first goblet, I tried to emphasize the warp potential by mounting the wood at a significant angle to the usual axis. There were two problems with the first goblet. First, in only 2 days of drying, the bowl portion developed severe cracks. My guess, is the the dense heartwood interacted badly with the sapwood. Second, black stains appeared in the foot from the interaction of the acid in the wood and the steel in the chuck jaws.
In the second goblet, I used wood that had no heartwood – only sapwood. When I mounted the foot mortise to the chuck, I inserted some plastic food wrap to prevent staining. The problems then where the added potential for the wood to slip, and bad marks from the smaller jaws.
I could not have turned this goblet without my DIY steady rest and its capacity to be mounted and dismounted without dismounting the turning stock.
Here are links to videos describing my steady rest.
My DIY Lathe Steady Rest
Update To My DIY Lathe Steady Rest
Woodturning – My DIY Steady Rest Is Still Steady
Make one for yourself.
Enjoy!
Woodturning Followup – Adding Fuzzy Flowers To Bouquet
This video is best viewed on this page. However, in case of difficulty, it is also available on YouTube and Vimeo.
In this video, I upgrade my bud flower to a fully blooming fuzzy flower.
The difference – simple. Instead of a verticle cut with the skew, push the skew horizontally into the wood allowing the wood to spiral out. Continue with additional cuts to the center of a very fresh green branch.
Then going a bit further, add color using alcohol based dye applied with a mouth atomizer. But do not fully saturate the dye on the wood. This leaves more color variation and texture to the flower.
Enjoy!
