Woodturning Ball In A Ball
This post is best viewed here on this page. However, in case of gremlins, it is also posted on YouTube and FaceBook.
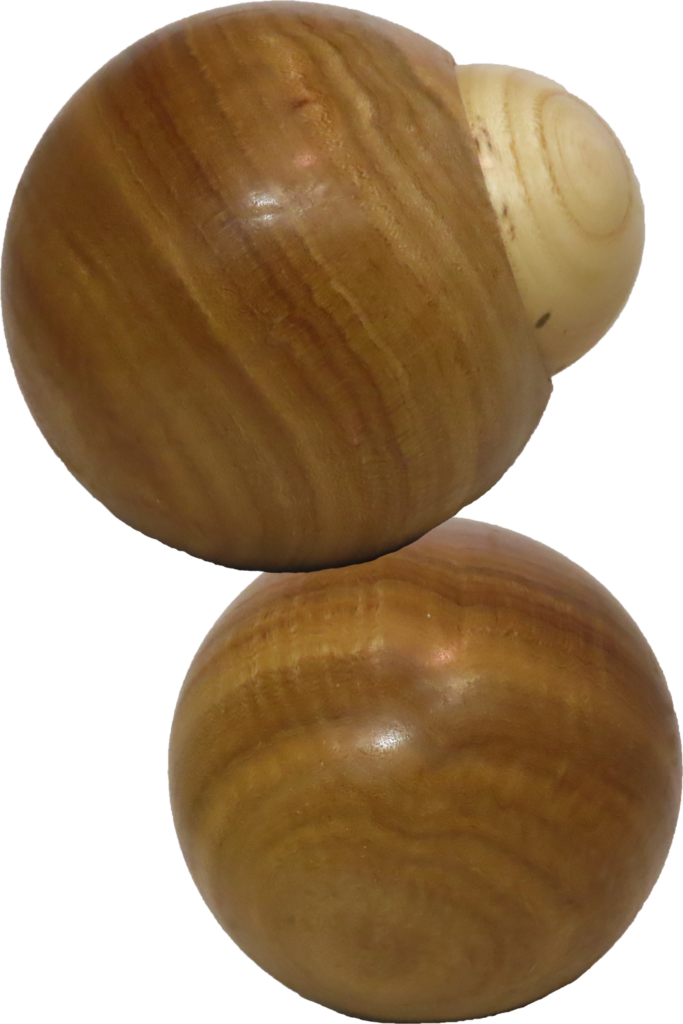
I saw this project in an AAW announcement of a challenge. I am too late for the challenge but this is a great project anyway. The announcement included an article by Al Hockenberry describing the process. I would encourage you to read and study the article.
Step 1: Turn a small size ball or sphere. Or cheat and use a golf ball or other pre-made ball.
Step 2: Turn a larger ball or sphere.
Step 3: Hollow the larger ball to barely accept the smaller ball. It is tricky.
For more detail on how to turn a perfect sphere, please see:
Woodturning Perfect Spheres – For Wise Turners
Woodturning Essentials – Octagon Method For Perfect Spheres
Turn A Perfect Wood Sphere Or Ball – No Expensive Jig
Enjoy.
Are you ready for this year’s Christmas Ornament Challenge?
Woodturning Third Scoop Style Two Piece Eccentric Ladle
This post is best viewed right here on this page. But, in case of viewing difficulty, it is also posted on YouTube and FaceBook.
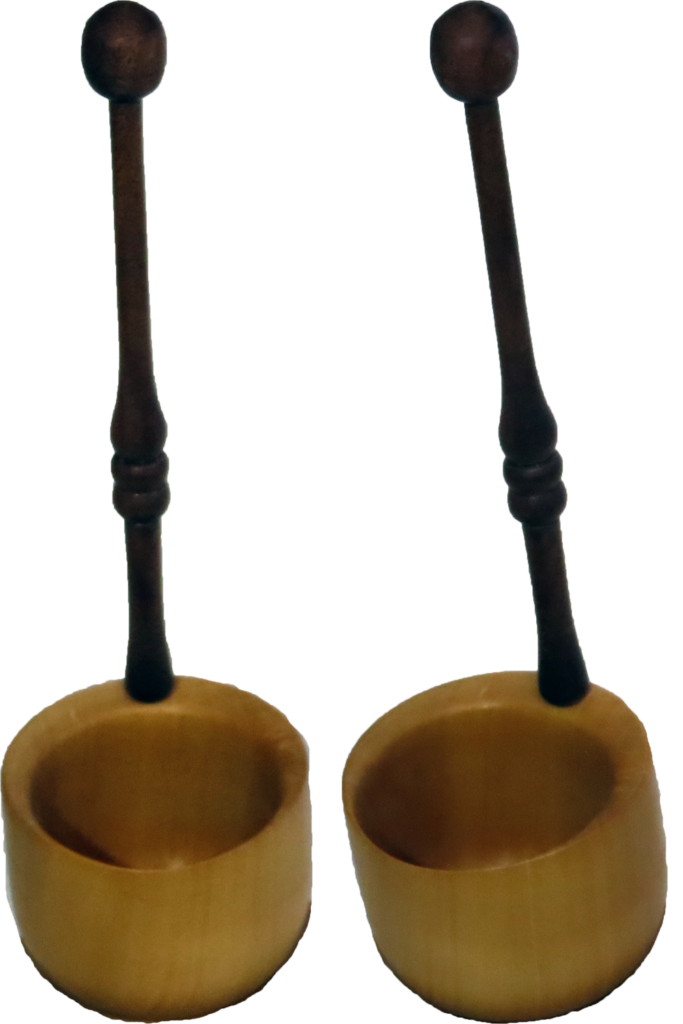
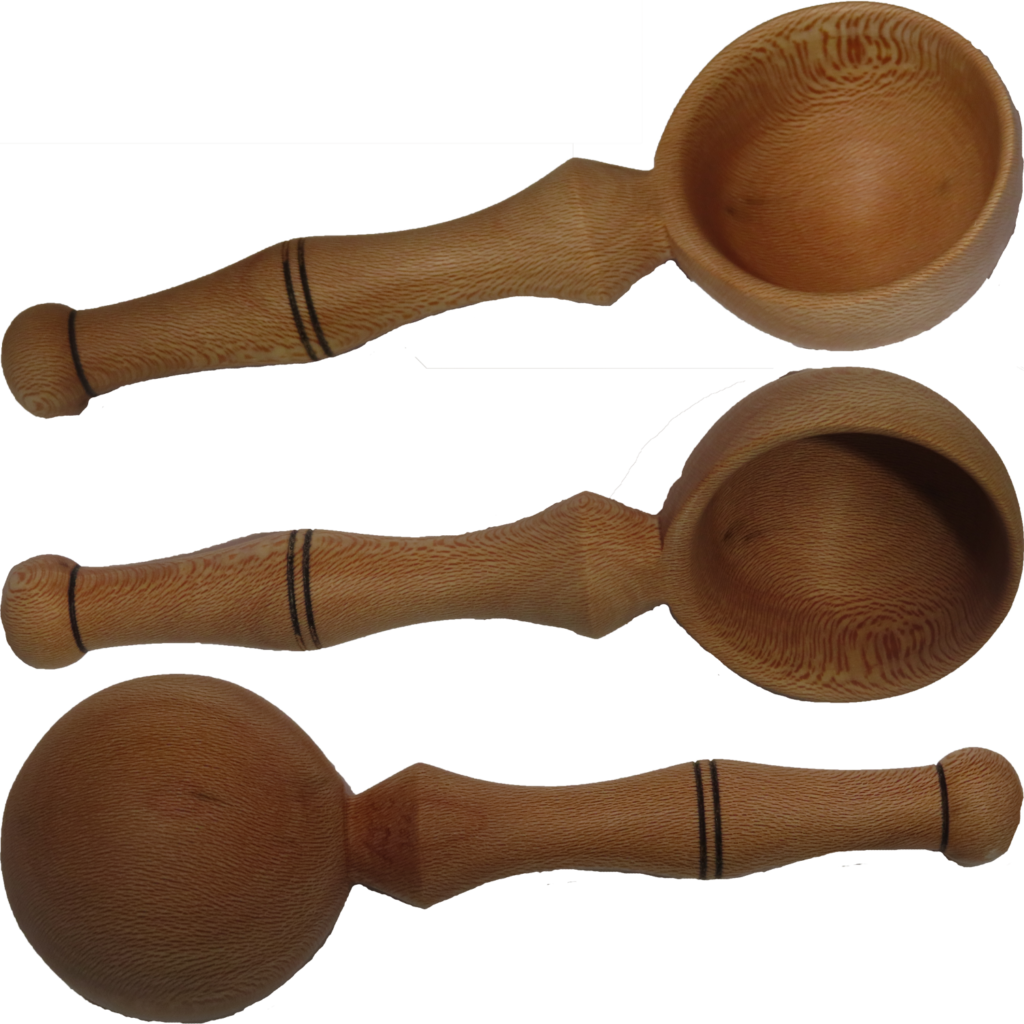
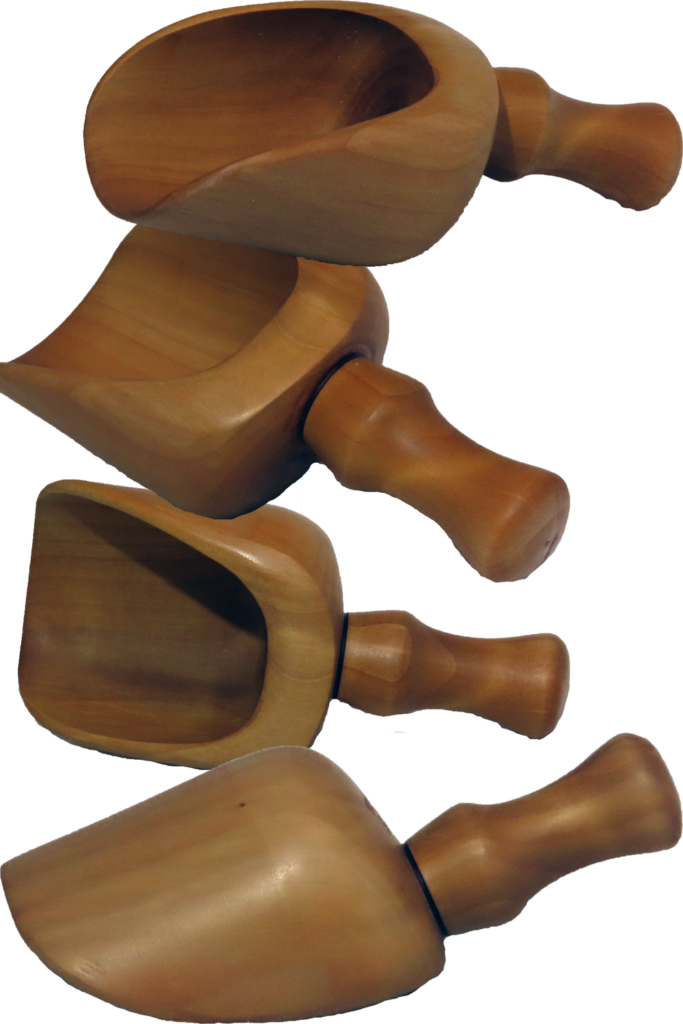
This is my third project in my scoop series. In this case, I wanted a ladle with a tall handle. But with a ladle, how do I attach the handle to the bowl?
I pulled out my off-center chuck to solve this problem. Please see my video for more details.
Eccentric Woodturning Off Axis Necklace Pendant
The ladle bowl is hollowed off-center. Then it is returned to the primary spindle access for the exterior. This leaves a wide area on one side that is perfect for the handle attachment.
Then, turn a handle much like a finial.
The bowl is pear; the handle is walnut. Both are finished with shellac. The bowl is just under two inches diameter. Overall, the scoop is about six inches long.
Enjoy.
Woodturning Unusual Jewelry Tray For Wedding Gift
This post is best viewed on this page. In case of gremlins, it is also posted on YouTube and FaceBook.
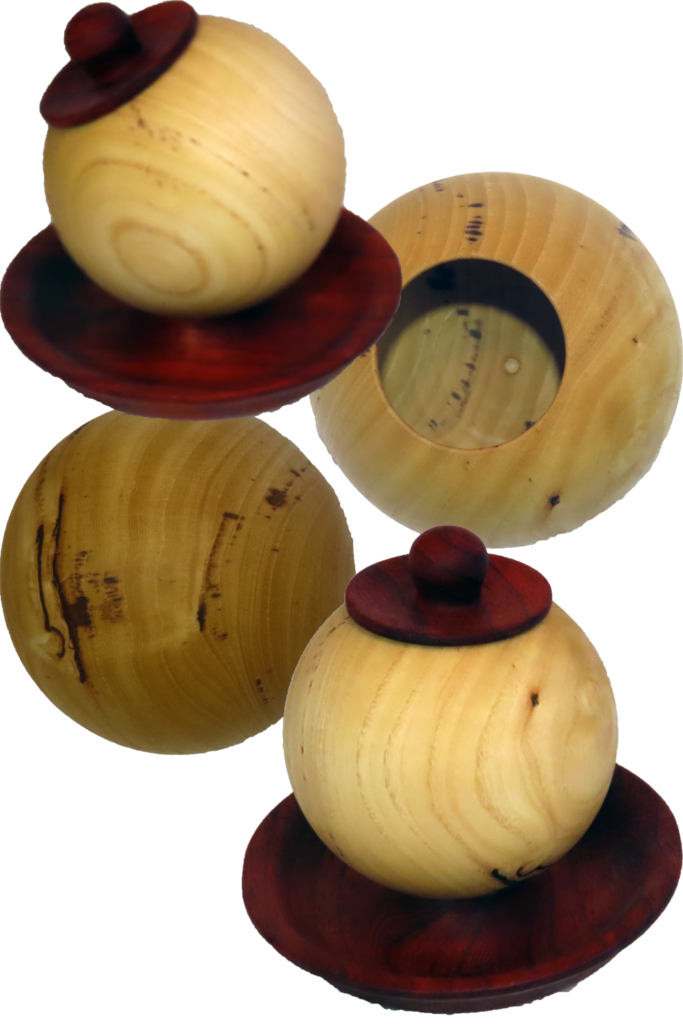
I decided to make something very different for this wedding gift. While, I still like my past style, this one comes from a wild idea that ocurred to me.
I still have a tray-like bottom that can hold jewelry. Then a hollow sphere that can hold more jewelry. The sphere is not attached. Instead, the sphere can be repositioned to taste and for variety. A loose-fitting lid shields the contents.
The sphere is ash; the tray and lid are padauk.
The project requires the octagon process for turning a perfect sphere and my updated soft jaws to hold the sphere while hollowing it.
For more detail on turning a perfect sphere, please see:
–Turn A Perfect Wood Sphere Or Ball – No Expensive Jig
–Woodturning Essentials – Octagon Method For Perfect Spheres
For more detail on the soft jaws, please see:
–Three Options For DIY Soft Jaws
Enjoy.
Three Options For DIY Soft Jaws
In case of technical difficulty, this video is also posted on YouTube and FaceBook.
To turn my most recent scoop, I needed a set of soft jaws to use in the final stage of turning when I need to hollow the bowl portion of the scoop. Using my standard steel jaws would have damaged the scoop.
I have abandoned 3D printing for this project. Aside from the low strength of plastic in a high stress situation, I would have needed screws to hold the wood to the plastic. That means I risk hitting a screw with my lathe tools.
So, I transformed my 3D design to be a template with all the specs written on the template. I recommend you make your own template to match your chuck.
- Determine what bolt your chuck uses. The original bolt on my VicMarc is an M6 flat head bolt. I find it more convenient to use socket head bolts. Then the bolt sits flat on the surface instead of requiring a taper. Make sure you have a bolt long enough to accommodate your plywood but not to protrude beyond the chuck part it attaches to. So you do not have to figure this all out again, note the bolt spec on your template.
- BTW, the bolts you need will probably not be at a big box store. Check for a local bolt supplier.
- Remove and trace a jaw onto your template. Cut out your template.
For those with a VicMarc VM-120 chuck and access to a 3D printer. I have put my files on Printables.com at this link:
https://www.printables.com/model/256860-woodturning-chuck-jaw-templates-for-diy-soft-jaws
Enjoy.
Another Scoop Of Wood Please – With Bonus Chuck
This video is best viewed right here. However, in case of difficulty, it is also available on YouTube and FaceBook.
Continuing my series on scoops. This one is turned from sycamore. The handle and the bowl is inline with the thread. Turning a scoop in this style requires a major axis shift – nearly 90 degrees.
But how to hold the scoop in this position for work. At this moment, it is a ball with a handle.
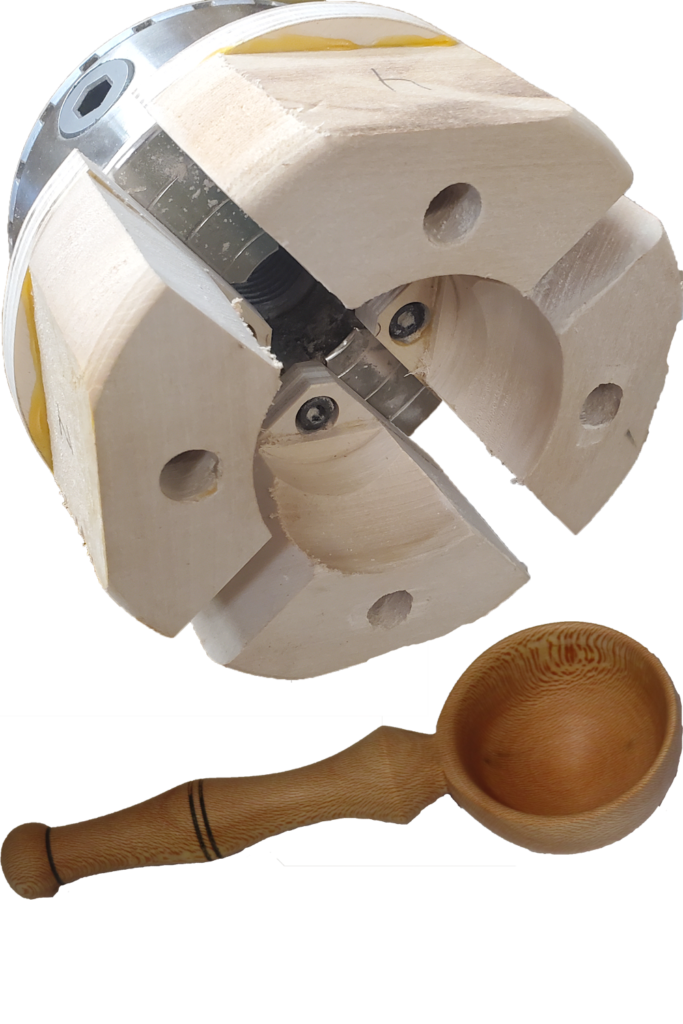
I have update my soft jaws that mount to my chuck – that is three out of four of them. Using wood for soft jaws enables cutting a small hollow on the inside edge of the jaws. Since this fits the sphere nicely, the jaws hold the bowl portion securely while it can be hollowed.
BTW, even with the soft jaws, hollowing the bowl portion is a wild ride with the handle whipping around.
This scoop is sycamore. It is 2 inches diameter and six inches long.
The templates and process for the wood soft jaws will be the subject of next week’s video.
For more detail on turning a sphere without an expensive jig, please see:
Woodturning Perfect Spheres – For Wise Turners
Woodturning Perfect Hollow Sphere No Expensive Jig
Enjoy.
Woodturning Segmented Vase From Face Out OSB
In case of gremlins, this video is also posted on YouTube and FaceBook.
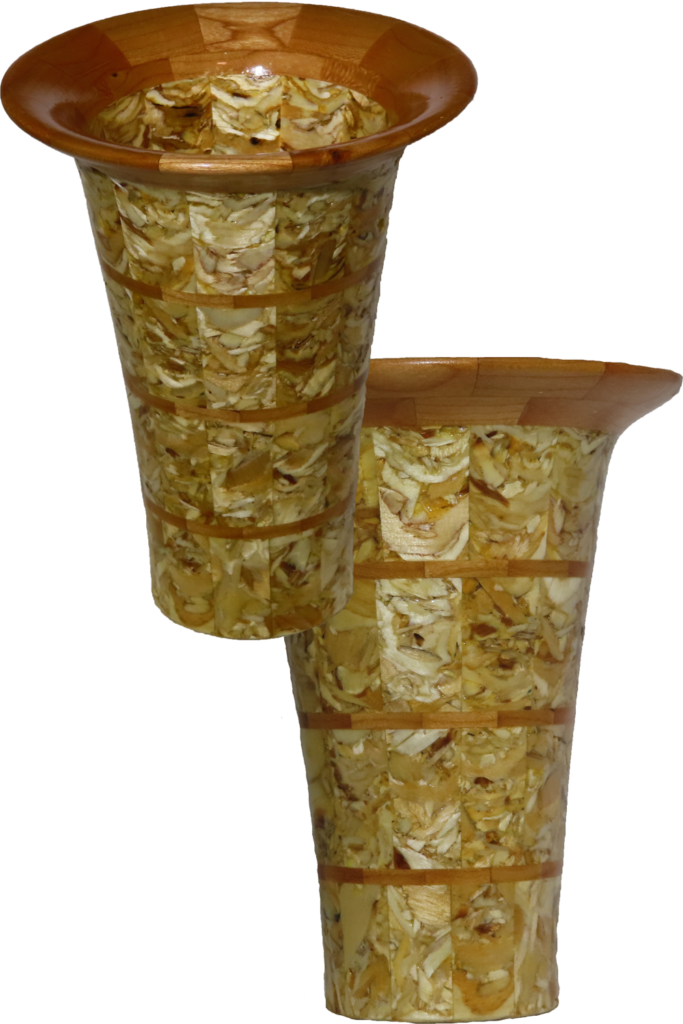
When reviewing the agenda for the upcoming Segmented Woodturners Symposium, I noted a presentation using OSB to turn a bowl. I was very skeptical since OSB is a very difficult wood to turn.
CORRECTION: The demonstration is at SWAT. I registered for both SWAT and Segmented at the same time and crisscrossed the presentations.
However, I decided to try it my way. I would segmented the OSB but turn it 90 degrees so that the original face is face out in the vase. I have used this technique with other veneer wood with very nice results.
The OSB was as difficult to turn as I expected. The flakes tend to chip off with the slightest provocation. Yet, I persisted.
This vase consists of four rings of OSB with twelve segments each. Five more thin rings of cherry at twelve segments serve to stabilize the OSB and highlight the layers. This totals 108 segments. The vase is finished with rattle-can lacquer. The vase is 4.5″ diameter and 5.5″ tall.
Another small disk of OSB is set into the base.
Enjoy.
Safety Second – My Close Encounter With Tablesaw
In case of difficulty in viewing this post, it is also posted on YouTube and FaceBook.
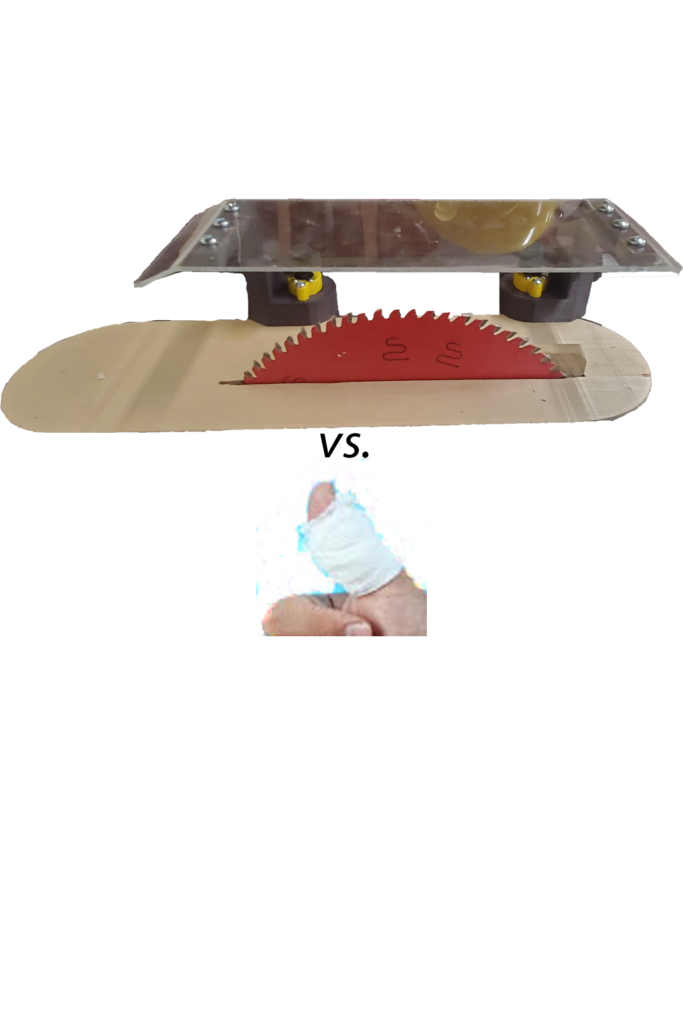
Despite using a SawStop table saw, I recently accidentially let my thumb contact the saw blade. I had already turned the saw off but it was still coasting and had not stopped. The SawStop cartridge fired and stopped the blade with only a slight nick on my thumb instead of cutting half my thumb off.
I was using my segmented woodturning wedgie sled which is difficult to use with any guard.
No. I am not willing to test this with my thumb.
I decided to double down for my protection by making a flexible, adjustable guard. My guard uses MagJig60, 3D printed parts, some hardware, and a clear acrylic sheet.
Model files for the 3D printable parts will be available at www.printables.com. https://www.printables.com/model/244749-magnetic-table-saw-guard
Enjoy.
Woodturning Hollow Form Vase From Wet Russian Olive
In case of viewing difficulty, this post may also be viewed on YouTube and FaceBook.
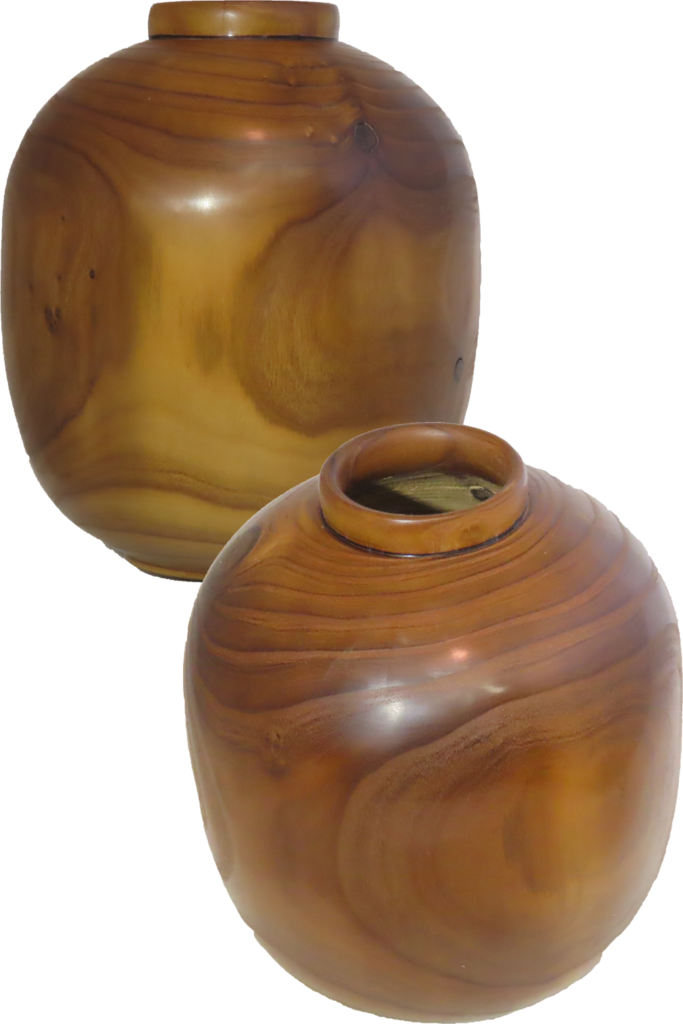
I thank my daughter for the wood for this video. She cut down a Russian olive tree from her yard. It was smelly and poorly located. It was not bowl size-I decided to try for a hollow form from the entire log section. That is. I did not rip it in half as is typical. This, however, risks cracks radiating from the pith as it dries.
To offset this significant risk, I decided to drill out the entire pith to at least 1.5 inches. Usually some wood is left in the bottom of the hollow form. This area in this blank contains the pith but now would be a hole.
After shaping, hollowing, and weighing, I wrapped the wood with plastic wrap and put it away to dry.
Now to remount and finish turning the wood. Well, it was mostly normal. The exception is the need to plug the hole in the bottom. Fortunately, I had saved some Russian olive that was also now dry.
This vase is 4 inches diameter, 6 inches tall, and finished with walnut oil and buffed to a nice sheen. In life the tree was stinky. In rough turning, the wood was stinky. As a dry vase, it is pretty, not stinky.
Enjoy.
Woodturning From Tree To Finished Bowl
This video is best viewed right here on this page. However, in case of difficulty, it is also available on YouTube and FaceBook.
When I turn solid wood for a bowl, it most often is from urban forestry, wood that comes from private yards and orchards. The best wood is fresh, green or wet, wood.
When I want a perfectly round bowl, I turn it twice with a long period of time in between to dry. To minimize or prevent cracks, I usually seal the bowl with PVA based sealer. This moderates the rate of moisture loss. The differential in rates of moisture loss in the wood is a major cause of cracks. However, this does not prevent warping. The wood will move where and when it wants to as it dries.
I either plan to accept warping or allow enough wall thickness to enable a second turning.
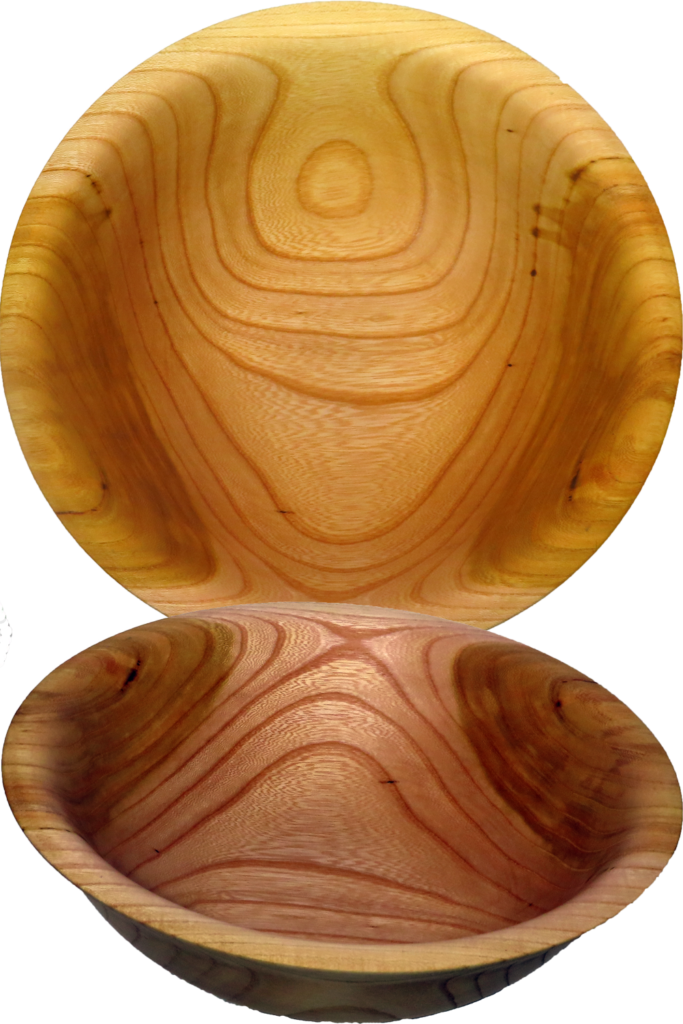
This bowl is 8 inches diameter and 2.5 inches high, finished with walnut oil. This is zelcova, not a usual wood.
Enjoy.
Woodturning Multi-Axis Single Piece Wood Scoop
This post is best viewed here on this page. In case of difficulty, it is also posted on YouTube and FaceBook.
After a friend called me with a question about turning a scoop, that prompted me to review my past videos where I turned scoops. It has been a while. So it is time to turn some again to ensure my skills are still current.
This is from pear, 2 inches diameter and 4 inches long finished with beeswax(25%) and mineral oil(75%) mix. Handle offset from primary axis.
Steps:
- Cut a tenon;
- Hollow the scoop portion;
- Turn a plug to fit;
- Turn the exterior;
- Using plug, offset the turning axis about 1/4″
- Turn the handle;
- Saw the scoop portion;
- Sand and finish remaining rough edges.
Enjoy!
