Woodturning Tetrahedron Jacks Game Piece (aka Four Arm)
Creating the Jacks game pieces in the last project, refreshed a memory for many years ago of a similar creation with only four arms instead of the more usual six arms. The problem is that I could not figure out how to turn a four arm piece without a lot of carving. After all, I prefer woodturning to carving.
The problem here is the lack of opposing points on which to mount the wood. The six arm style is easy since everything is at 90 degrees. A four arm style implies 120 degrees. However, in practice the 30 degree difference is significant. I spend some “quality” time with Google AI settling into how to layout a tetrahedron on a sphere. A tetrahedron is the base platonic shape for the four arm jacks piece. While a 6 arm style could be laid out on a cube, creating a tetrahedron is a puzzle by itself.
In the end of the series of questions and responses, the solution boiled down to:
- Marking longitude lines at 60 degree intervals;
- Marking intersections on the longitude lines at a specified distance from the equator. Google was happy to do all the calculations for me.
After all that, turning could proceed:
- Turn a sphere, mark the equator, and measure the diameter.
- Ask Google for the distance of a tetrahedron vertex from the implied equator given the diameter.
- Mark intersections alternating north and south from the equator every other longitude line.
- Cut temporary dovetail tenons at all intersections and the north/south poles.
- Drill to insert dowels to reinforce short grain in all arms.
- Successively, mount and cut away wood as much as possible or dared.
- Repeat until the center become apparent and acceptable.
- Mount to a collet chuck or padded narrow jaws on the four arms that are to be preserved. Cut away the opposing sacrificial arms.
Done!
That’s all – Right. Well, start with the six arm version until you can visualize this one.
This wood is poplar, the Jacks piece is about 5 inches diameter, finished with walnut oil.
I love it.
Enjoy.
p.s. Would you like a more in depth demonstration? Please contact me for an IRD (Zoom Demo) on this or other topics.
If you happen to have technical difficulties, this video is also posted on YouTube. But it is best right here. So stick around.
Woodturning Jacks Game Pieces
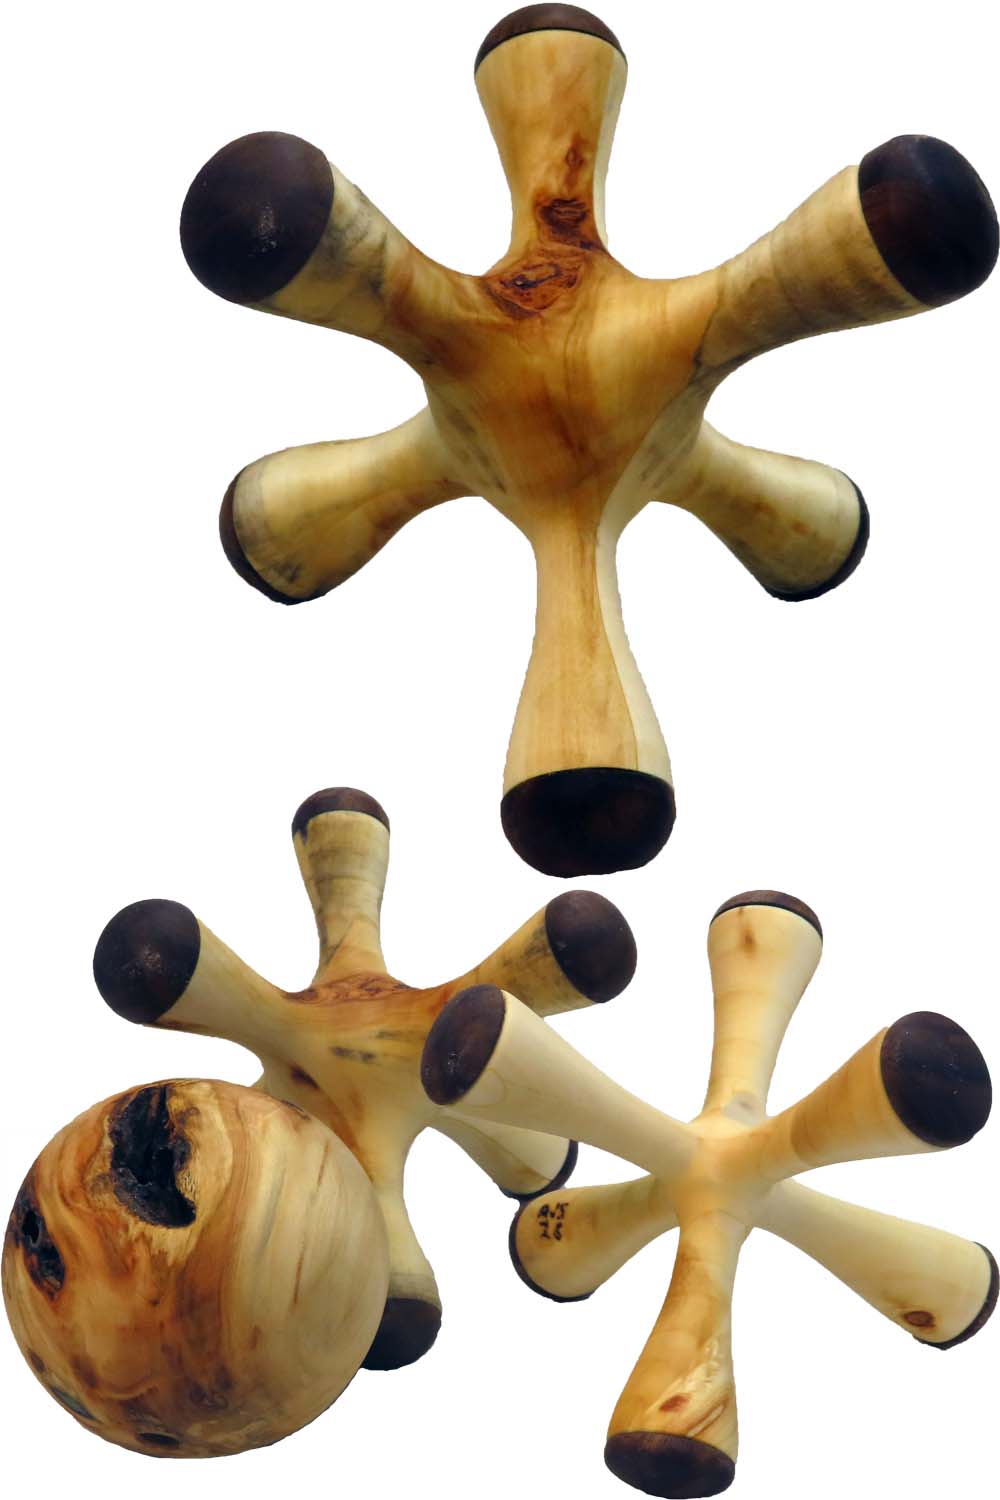
As a child I played jacks – the game where you scatter the six prong pieces. Then throw the ball and let it bounce. But before the second bounce, pick up a quota of jacks pieces. The quota starts as onezies, the twozies, and so on.
Then when I saw a large metal jack piece in a friend’s office I had to make my own. Years ago, I saw Max Brosi turn an octahedron form and then turned several of my own. Things clicked. The process to turn a jacks piece is very similar to the octahedron piece with a few critical adaptations. The octahedrons preferred green wood and hollow cylinders. My jacks piece will be dry wood and solid cylinders. In addition, four of the arms are cross grain and will break while turning.
My solution is to bore holes for dowels in the arms and glue in the dowel to reinforce the arm. An easy solution.
The earlier octahedrons required some carving to refine the center where the arms intersect. So, remembering the octahedrons, I thought I would need to carve. However, carving was not necessary. Slight intersections only needed 400 grit sandpaper to make them disappear.
Then, I just had to turn another.
By the way, you may see in this video demonstration that it starts with a turning a sphere. If you have not yet mastered this basic skill, please see my sphere videos including:
A Woodturning Primer Basic Sphere Process
Then arms are capped with walnut pieces. Each has a short tenon to fit the hole in the end of the arm.
I love them.
Enjoy.
BTW, If you happen to have technical difficulties, this video is also posted on YouTube. But it is best right here. So stick around.
Woodturning Green Crotch Bowl
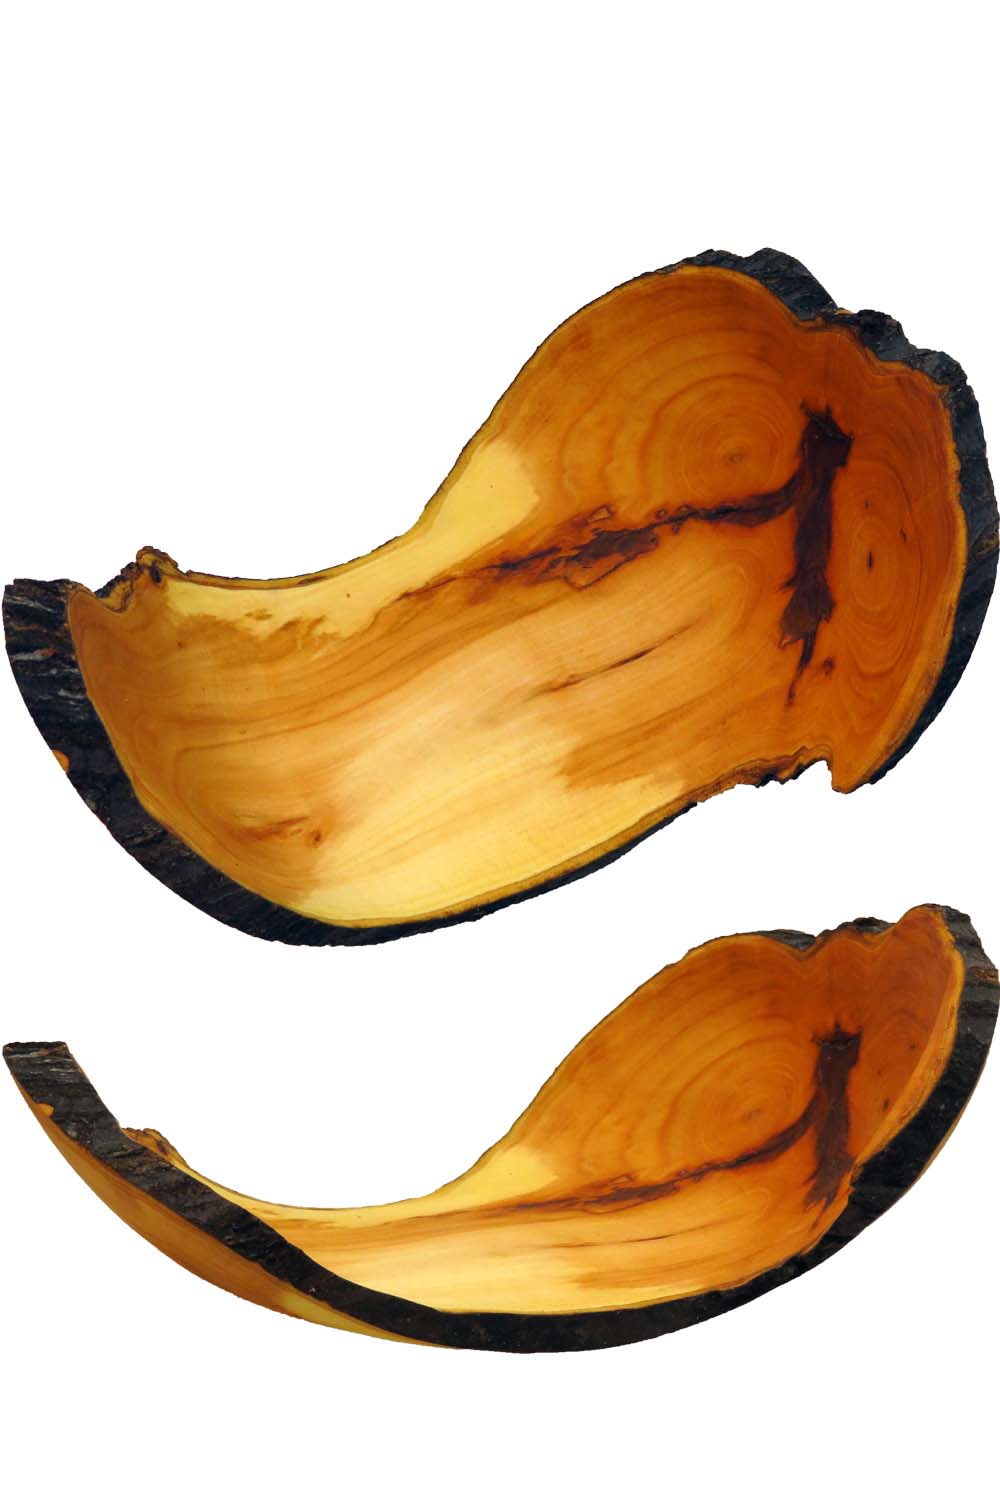
Sometimes it is fun to see way I can turn from an unusual piece of wood. After all, anyone can turn a great bowl from a prepared standard bowl blank.
This wood comes from an ornamental tree which had multiple branches flaring out at the same level. I tried a vertical mount for something like an end grain bowl. That did not feel right. Then, I turned the whole block to mount between centers across the grain.
While I am not sure what species of wood this is, I will call it “yard” wood. It is about 7 inches long, five inches across, and 3 inches tall. It is finished with walnut oil.
I love it.
Enjoy.
If you happen to have technical difficulties, this video is also posted on YouTube. But it is best right here. So stick around.
Woodturning Large Green Wood Flower
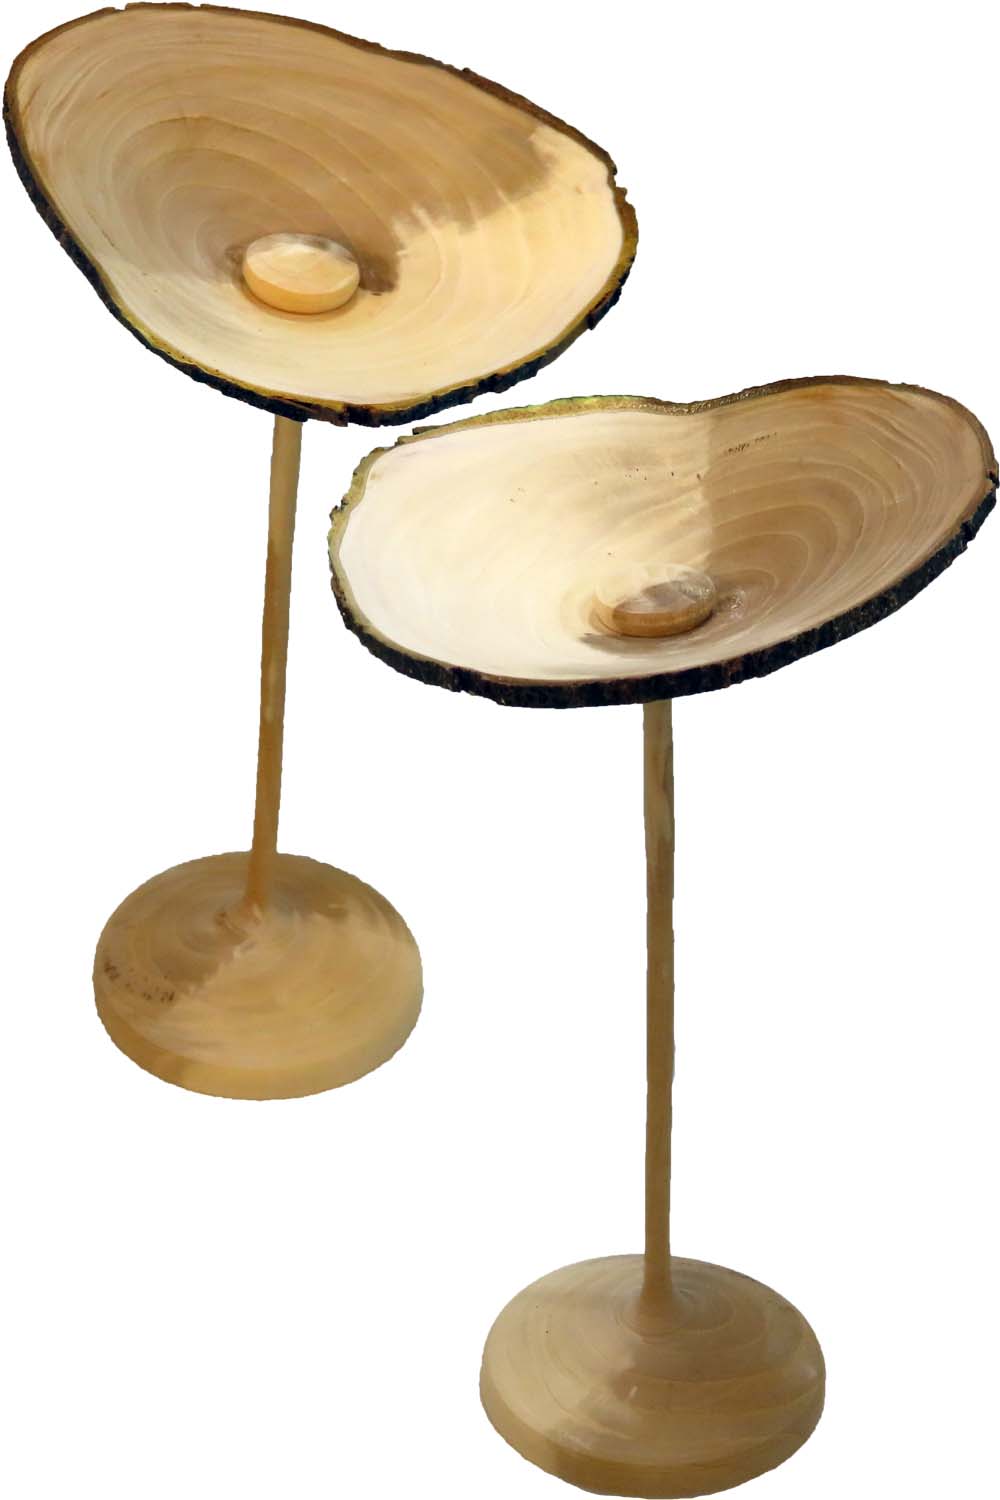
This flower is turned to preserve its bark or natural edge and turned thin while green to allow warp distortions that could prove interesting.
This one has some distortions in the petal or bowl portion and in the base but not much in the stem.
It is an exercise in turning very thin wood.
It is eight inches tall while the petal or bowl portion is five inches diameter.
I have left it unfinished.
Enjoy.
If you happen to have technical difficulties, this video is also posted on YouTube. But it is best right here. So stick around.
Woodturning Segmented Red Oak Bowl For Charity
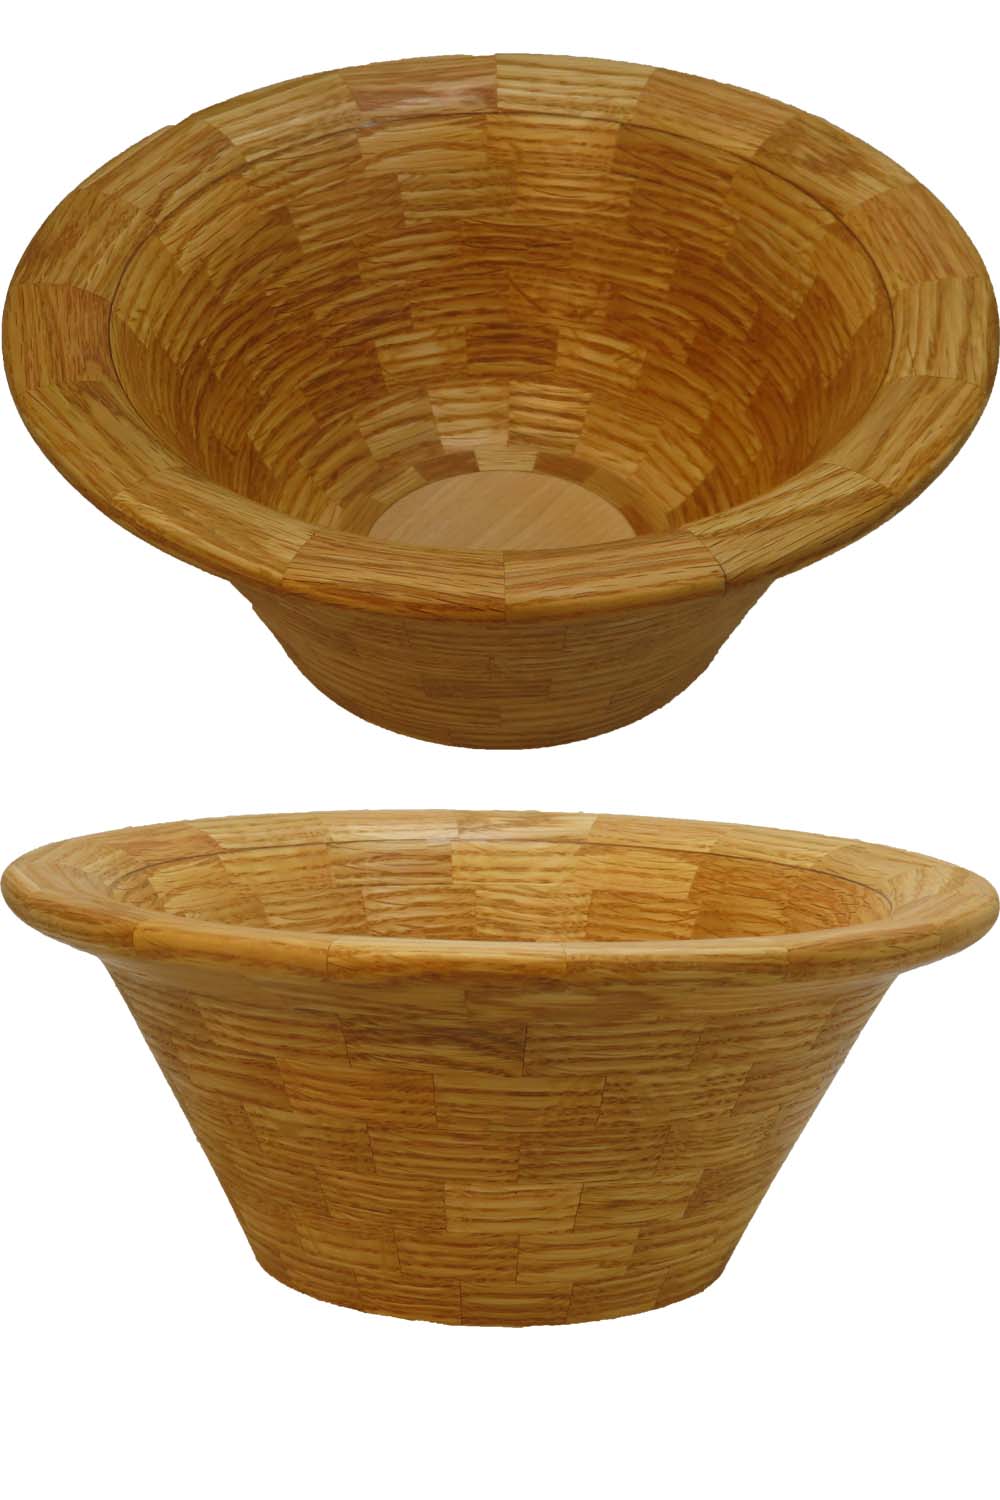
This segmented red oak bowl is for a community effort to feed the homeless. It has 9 rings of 16 segments each for a total of 144 segments plus a center bottom of stabilized maple. The stabilized wood is intended to eliminate dangerous wood expansion and contraction that would destroy the bowl. It is finished with wipe-on poly. It stands almost 4 inches in height and 9 inches in diameter at the rim.
Enjoy.
Woodturning Small Bowl, Small Lathe, Carbide Tools Preparing For New Turners
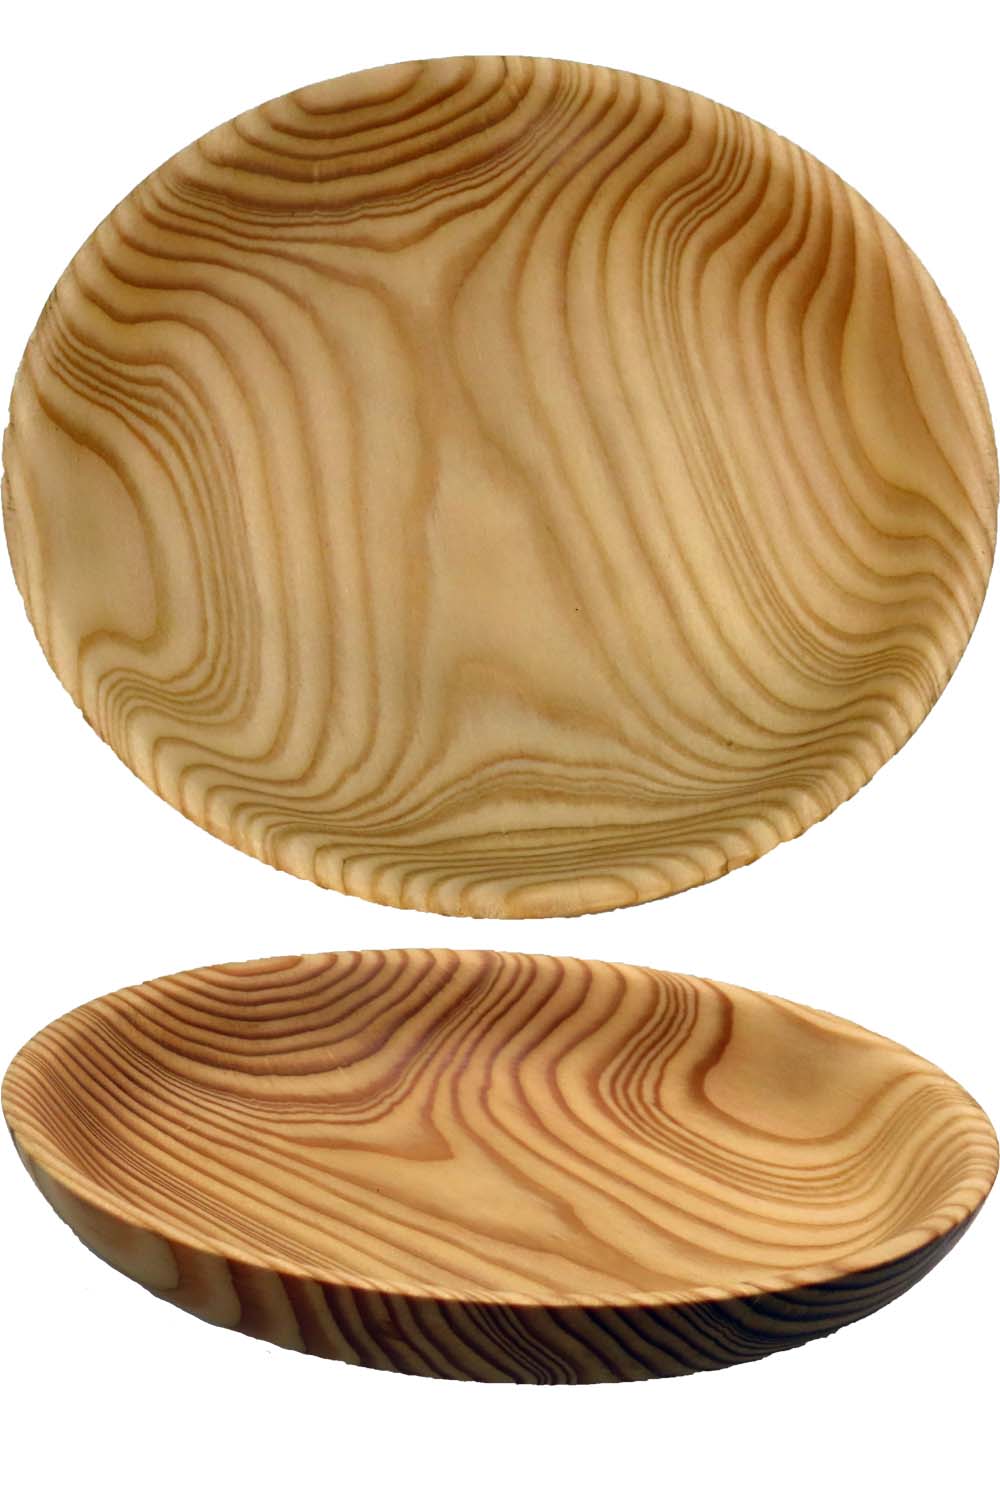
The last few years my sibling have gotten together for a reunion since we live in multiple states. A couple of years ago, I helped them turn pens. Last year, we turned various spindle kits. They enjoyed it. This year I thought I would help them turn a small bowl. But what to have them turn? Hmmm.
Well, last year at SWAT, I ran into a fellow doing exacted what I need to do. That is. Give people who are no turners, a good experience in creating a bowl. His medium was a 2×8 which would standardize and give participants a selection of bowls to emulate. I adopted his approach.
The wood is a home store 2 x 8 probably fir – not my preferred wood for my projects but inexpensive for this experience.
The lathe is either a Ricon 12″ or Wen 8″. This work well for group pen turning and are portable.
The tools are round carbide cutters that take little instructions.
The finish is walnut oil.
This video and project are to test my assumptions before involving my siblings.
The bottom line – I think it will work – We’ll see.
Enjoy.
Woodturning Baby Rattle For Laser Engraving While Government Regulation Compliant
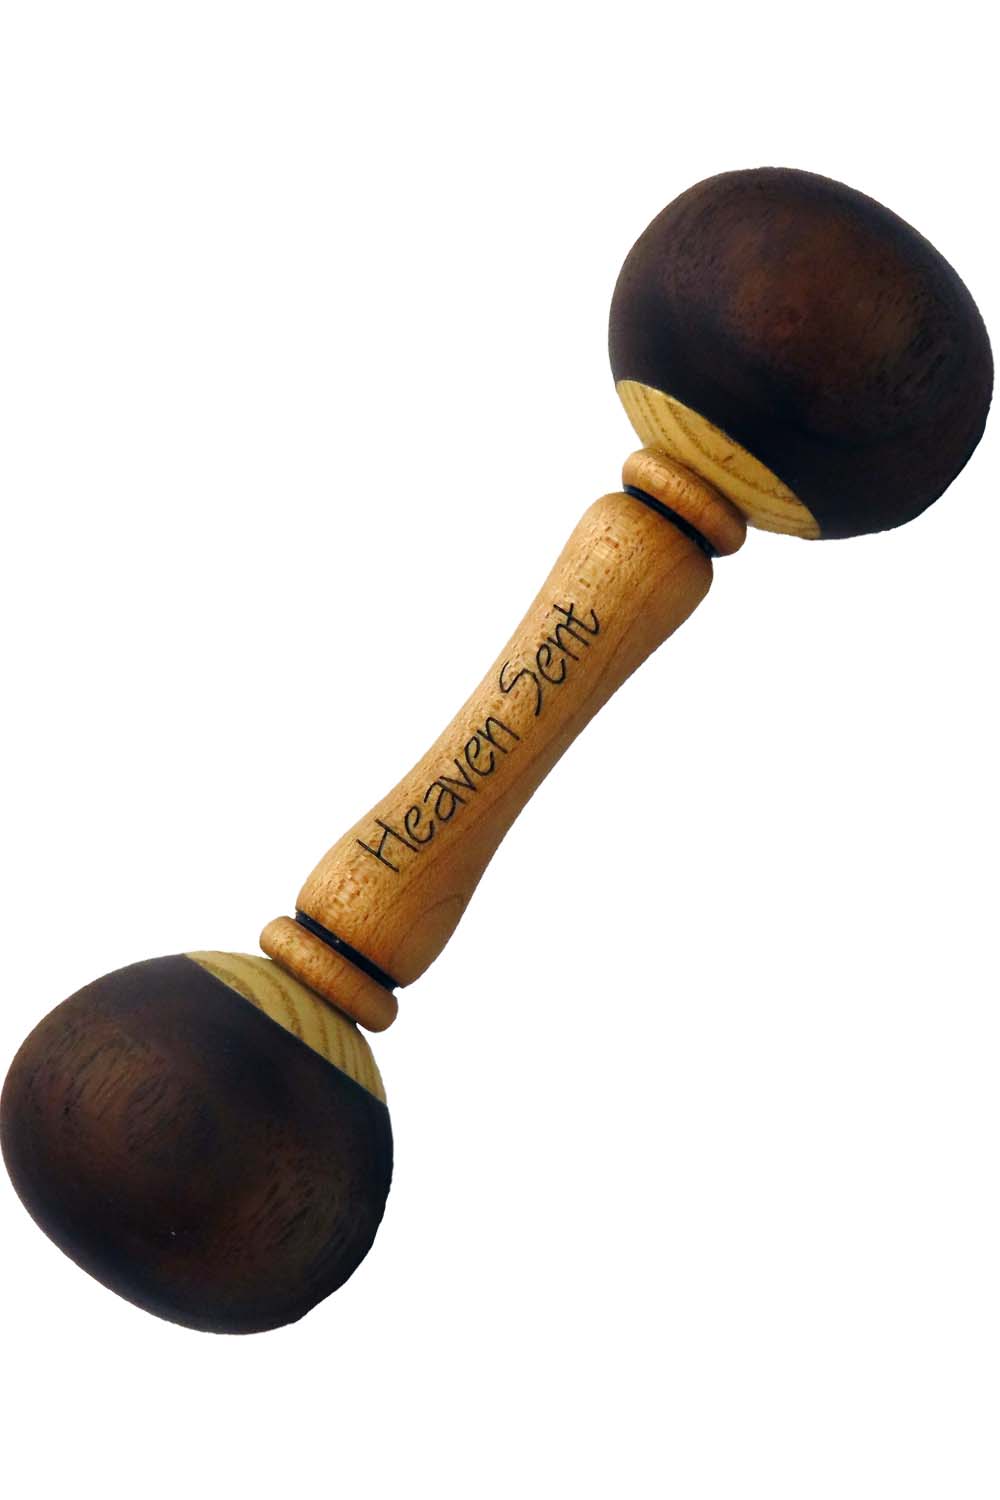
When there is a lot of confusion, it is best to go to the source. In this case, confusion over baby rattle specifications are easily resolved by reading the government regulation specifications in section 1510.4. The regulation provides measures for a test fixture. If a rattle passes the test fixture, it is legal. The test fixture is a minimum requirement – a rattle can be larger as long as any piece does not protrude to the other side of the fixture.
I also want to engrave the handle of this baby rattle. The difficulty is that the laser head must clear the highest point of the rattle. At this height, the handle is out of focus. The engraving would be horrible. The solution is to make the rattle in multiple parts that can be attached after the engraving.
Others have used a wide variety of objects inside the rattle to make the noise. The problem is that the wood deadens much of the sound – A jingle bell just does not sound like a bell. I chose, instead, small ball bearings that yield a nice percussion sound that works well with the wood to resonate.
A 3D printed test fixture for rattles can be downloaded from Printables at:
https://www.printables.com/model/1789355-baby-rattle-test-fixture
My formula for beeswax and mineral oil:
.25 pound beeswax chopped
1 pint mineral
Combine and heat in a double boiler, stir until mixed. A shortcut is to put in a container into a hot attic or a hot car. Stir daily until mixed.
This rattle is 1.5″ by 5.5″ finished with beeswax and mineral oil.
Enjoy.
If you happen to have technical difficulties, this video is also posted on YouTube. But it is best right here. So stick around.
Woodturning Captured Pedestal Spin Top – But…??
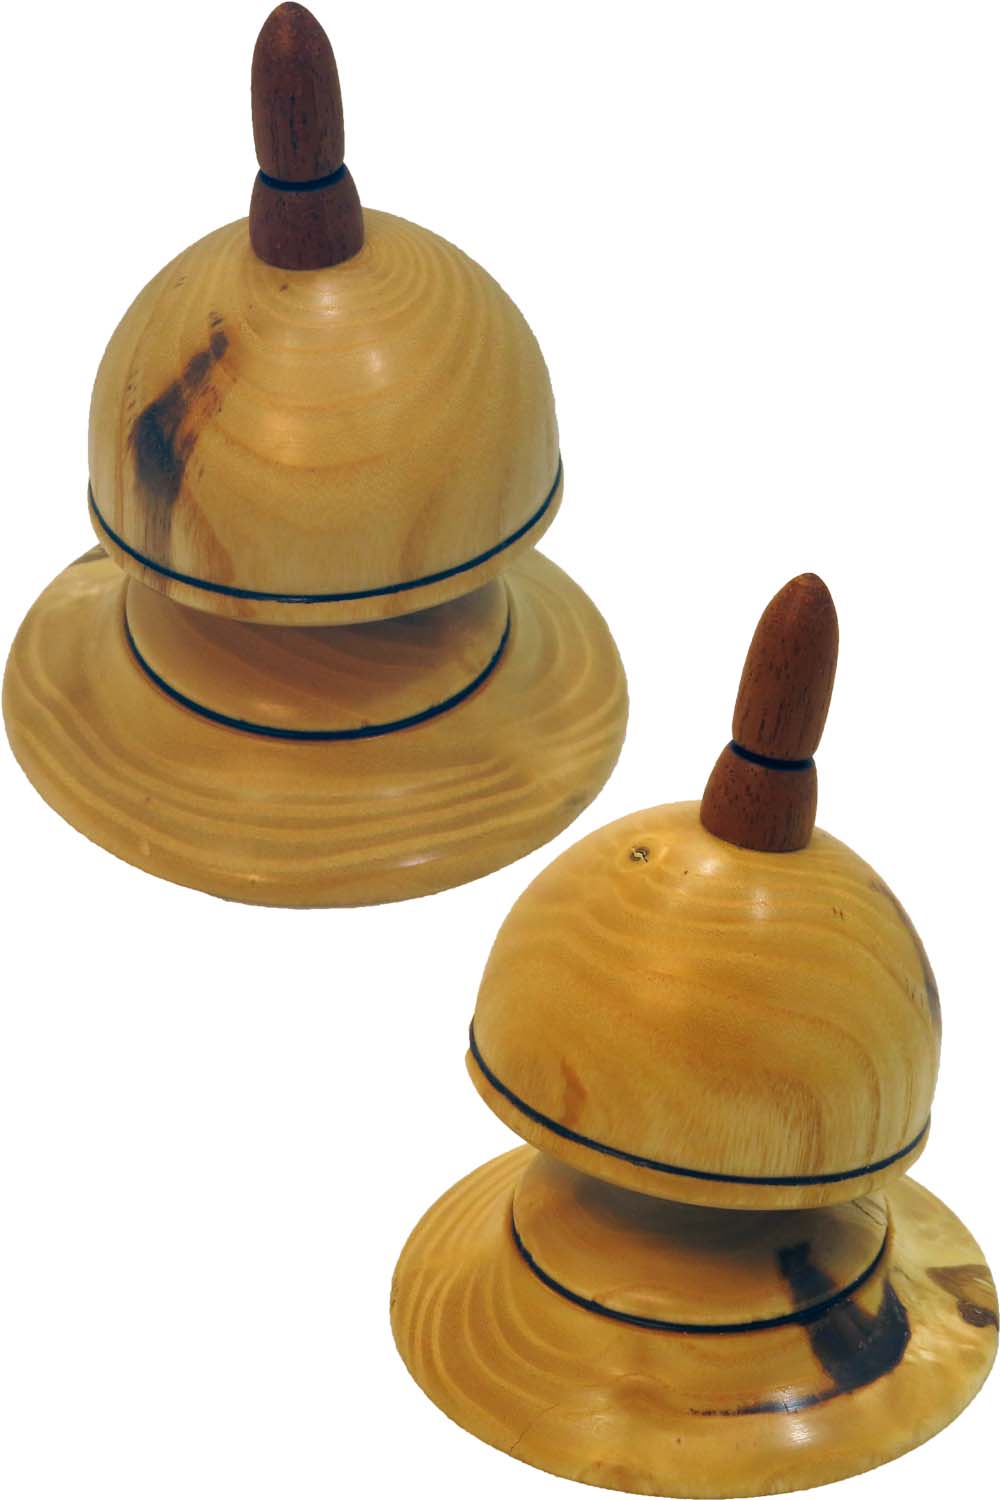
For this project I wanted to replicate a project from an AAW video. However, after turning a Captured Pedestal Spin Top as demonstrated at AAW, I could not show the video. In my opinion, the key process was too difficult and fiddly. I prefer processes that anyone can follow to replicate. The original involved an acorn nut and a small bolt that had to be inserted into a small cavity. This part was difficult to handle even after checking with a buddy who had also turned one as demonstrated.
My design requires no special hardware. Instead, the key components are separated into individual components that are easily turned and replicated if necessary. If a mistake is made while learning, the key components can be discarded and again made quickly and easily.
My spin top is mostly ash and about 3 inches in diameter and 4 inches tall, finished with shellac. The video has a diagram of the key components.
In this video, I use a collet chuck for dowels and finials. However, a collet chuck is NOT a requirement since any chuck that can hold a small cylinder will suffice. A collet chuck uses collets each of which is sized for a very limited size range. If the wood being turned is too large for the collet, the collet cannot be forced – a larger collet is required. However, also, if the wood being turned is too small for the collet, the collet may not be able to clamp securely. In other words, each collet has a limited range of wood sizes it can hold. My original collet set has collets for .25, .375, .5, .625, and .75 inch. These are ER-32 collets which specifies their overall shape. I have supplemented the original collets with an additional set from Amazon incrementing by thirty-seconds. Now, it will hold any wood in its range.
Since I was not pleased with the original design as demonstrated, I came up with another design. I hope this sparks an idea for you to improve upon my design. I want to see your ideas. Let me know.
Enjoy.
If you happen to have technical difficulties, this video is also posted on YouTube. But it is best right here. So stick around.
Woodturning Beyond A Basic Sphere: Now Beaded and Hollowed
If you happen to have technical difficulties, this video is also posted on YouTube. But it is best right here. So stick around.
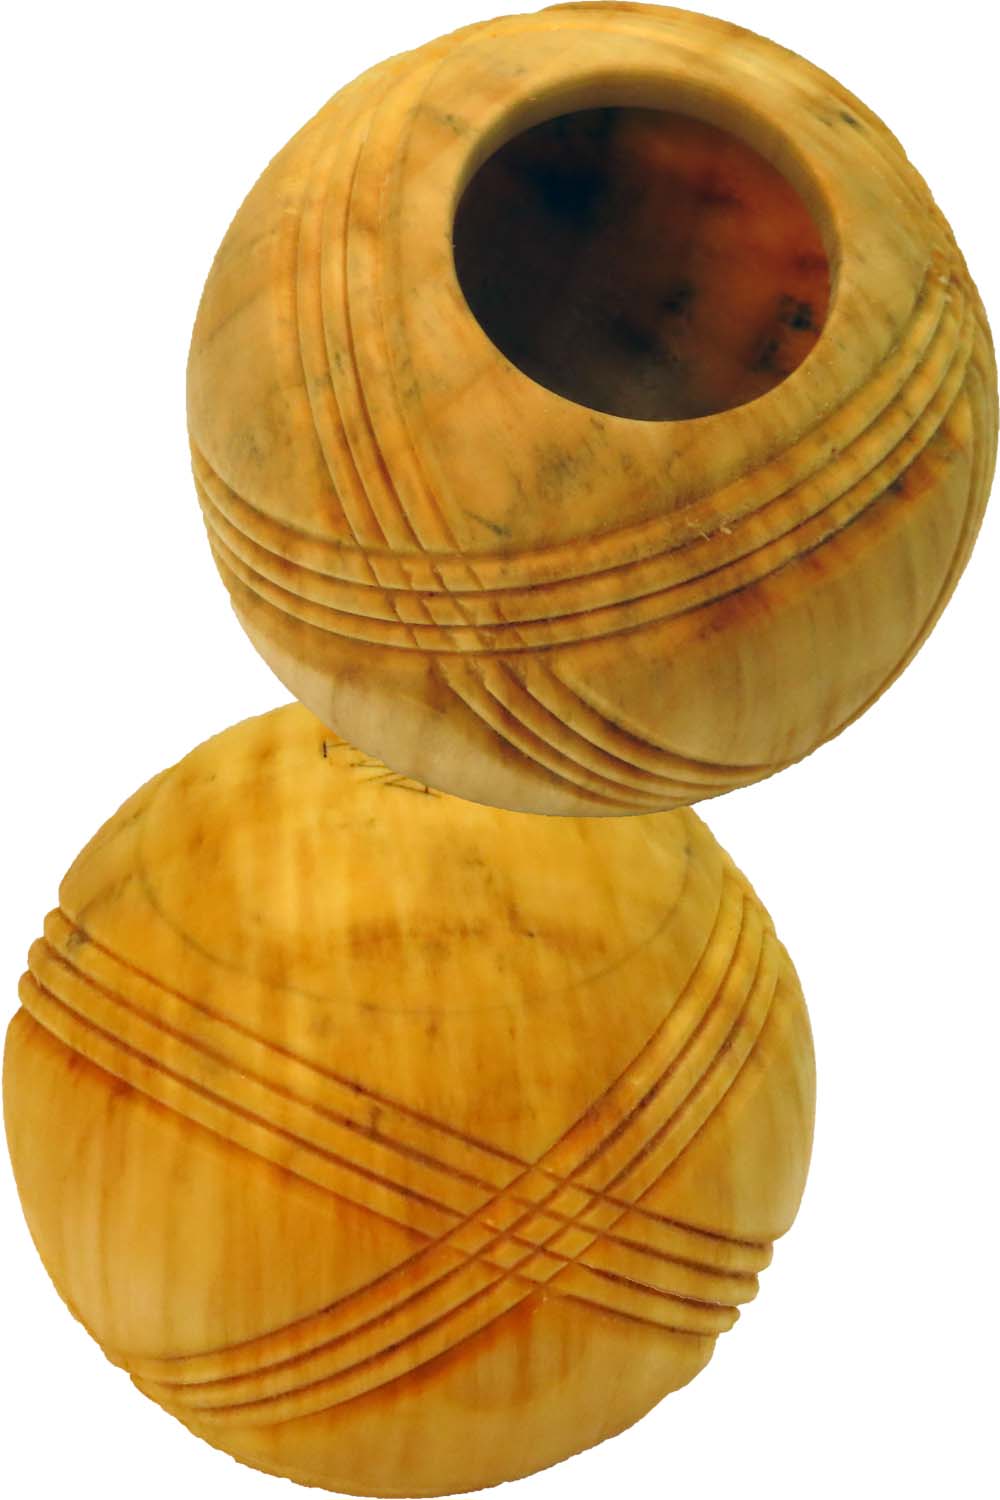
During this project, I turn a sphere using the octagon process and refine it with a process using cup faceplates. This saves me money because I have avoided purchasing a sphere jig. The octagon process guides any woodturner including novices to learn and to turn a sphere quickly and easily.
However, this project goes beyond a basic sphere to apply an interesting bead pattern and to hollow the sphere.
My decorated sphere is poplar about three inches (75 mm) diameter finished with my utility finish of beeswax and mineral oil. By the way, this is a mixture of 1/4 pound beeswax to 1 pint of mineral oil. The beeswax is chopped up into a container in which the mineral oil is also poured. I used attic heat over two days to melt the mixture (stirring after one day). I could have used my hot car in the summer but my attic does not move. These options avoid using a double boiler that would otherwise have been required for fire safety.
I cut the beads with a D-Way beading tool.
For hollowing, I used my DIY doughnut chuck which consists of:
- a base plate (mine is threaded instead of a steel faceplate);
- three T-nuts in the base plate (1/4″ x 20 tpi) oriented so that bolt tension pulls them into the wood instead of out of the wood.
- To the base plate, I can attach various options such as cup faceplates or center positioners so that I can use this doughnut chuck for sphere, vases, or whatever.
- An outer cinch plate through which has recessed holes for three bolts to cinch up to the baseplate.
- The outer plate has a mortised hole to receive a custom rings to fit to various projects.
- An assortment of 1/4″x20 bolts of various sizes to accommodate different project needs. IMPORTANT. for safety these bolts go from the cinch plate to the base plate so than any excess length is between the baseplate and the lathe headstock. In other words, well away from the work area.
Enjoy.
Woodturning End Grain Bowl or Dish From Limb Wood
If you happen to have technical difficulties, this video is also posted on YouTube. But it is best right here. So stick around.
Turned bowls are the bread and butter of woodturning. However, most are deep cross grain bowls. At least these seem to get most of the attention.
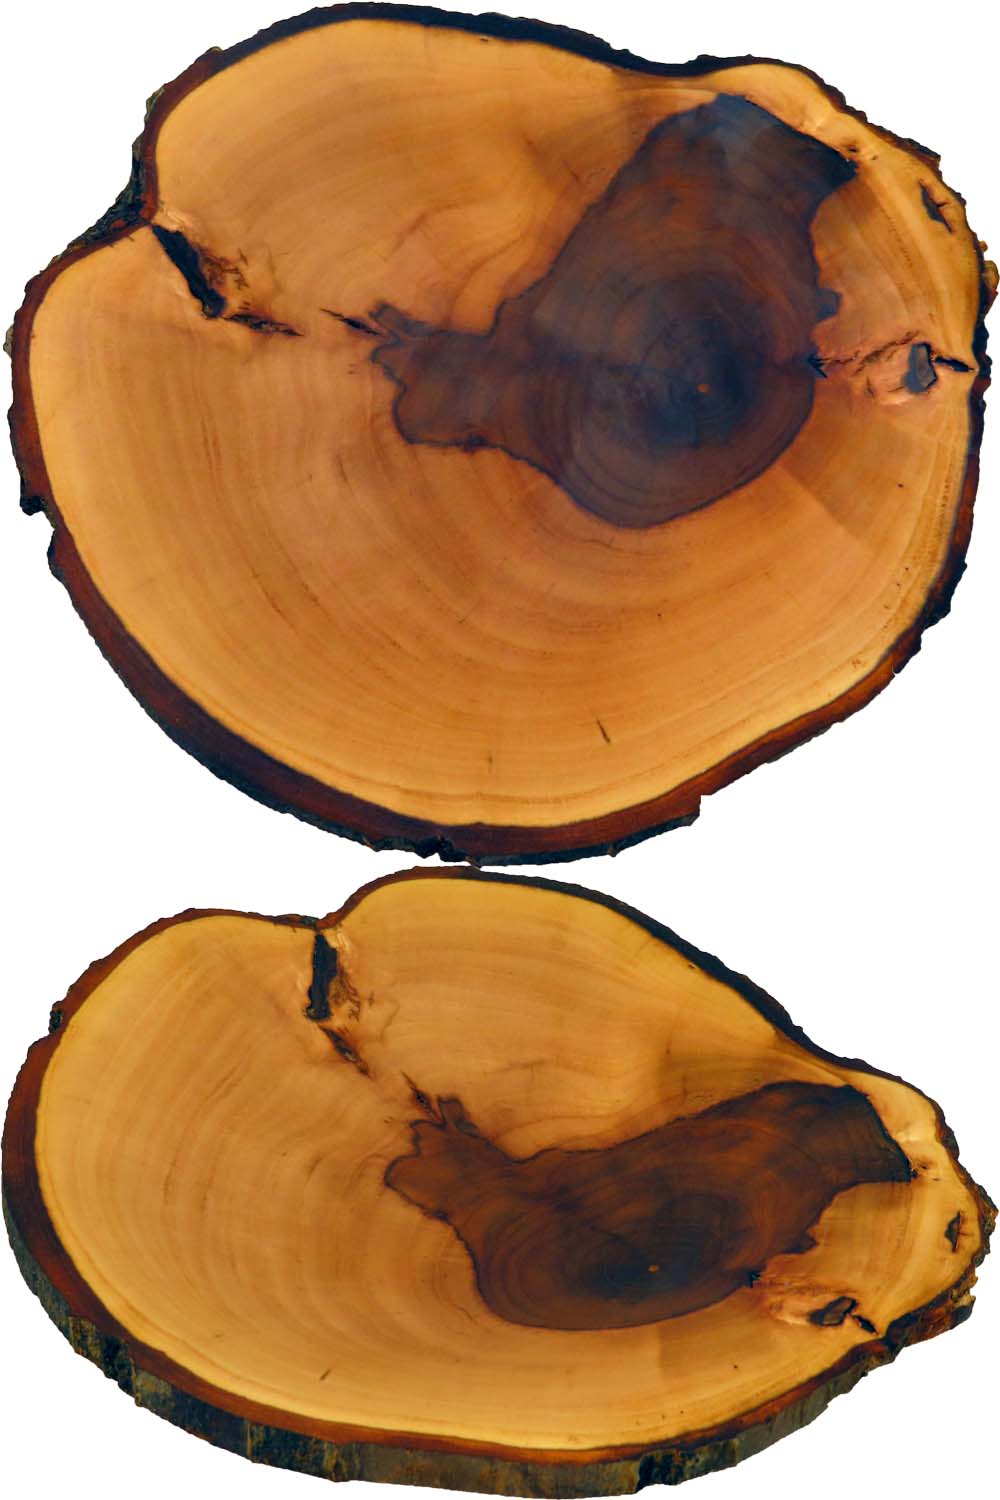
In end grain bowl, the grain is vertical instead of horizontal. To their credit the grain pattern in cross grain bowls are arguably more dramatic. Still, there is room for beauty in these end grain bowls.
My wood is apple, finished with walnut oil. It is six inches diameter.
Enjoy.